Game Development Reference
In-Depth Information
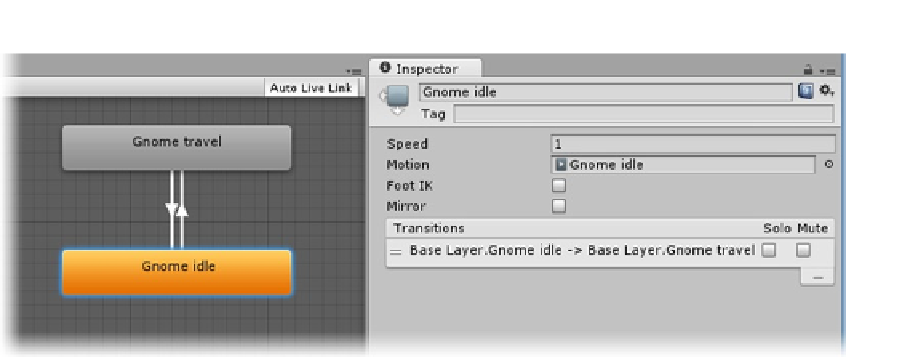
Figure 6-21.
The states connected by transitions
If you select a state, such as the Gnome idle, you will now see the transition for it listed in the
Inspector. You can rearrange the state controls in the view by dragging them around, and you can
navigate the view by holding the middle mouse button down and moving the mouse. The Any State,
by the way, is for a state that can be reached at any time from any state. A “die” behavior would be a
good example, where, when finished, it could only transition to a “dead” state.
Transitions serve a two-fold purpose. The first is to set up the condition or conditions that must be
met to take the character into the other states. The second is to blend the animation from the current
state smoothly into the target state. Here you have control over the length of the blending between
the two clips.
Mecanim is a very powerful and complex system. It is beyond the scope of this topic to cover all of
its features and functionality. There are two very good sample projects on the asset store that are full
of sample Mecanim scenes: Mecanim Example Scenes and Mecanim Locomotion Starter Kit. The
assets are free and a good place to explore Mecanim functionality in depth.
Let's take a closer look at transitions as you continue to prepare the gnome character.
1.
Click on the transition from idle to travel.
The transition line turns light blue to indicate it is selected, and the transition itself shows in the
Inspector (Figure
6-22
).