Graphics Programs Reference
In-Depth Information
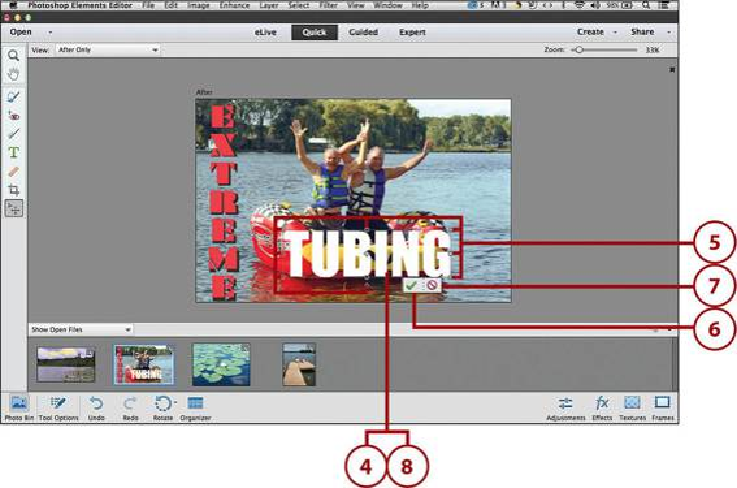
4.
Click a text box, shape, or object in the photo that you added to the photo.
5.
Handles display around the selected item. Click and drag the handles to resize the
item.
6.
Click Confirm to apply the resize.
7.
Click Reject to cancel the resize.
8.
Click anywhere in the item and drag it to a new location in the photo.
Applying Adjustments
Just like Organizer, the Photo Editor has adjustments that can automatically fix problems in
a photo. Photo Editor has nine preset options per adjustment, which gives you more control.
You can apply Smart Fix, Exposure, Lighting, Color, Balance, and Sharpen adjustments to
your photos. The process of applying these adjustments to a photo is basically the same.
1.
Open a photo either from Organizer or from your hard disk in the Photo Editor.
See “
Opening a Photo in Photo Editor
” in this chapter for how to open a photo in
the Photo Editor.