Game Development Reference
In-Depth Information
Mesh Renderer
The Mesh Renderer assembles the geometry data passed from the Mesh Filter that determines the
shape of the model and puts it together with the material, textures, lights, and shadows to render the
model to the screen. The properties are for Unity Pro users and are beyond the scope of this topic.
Material
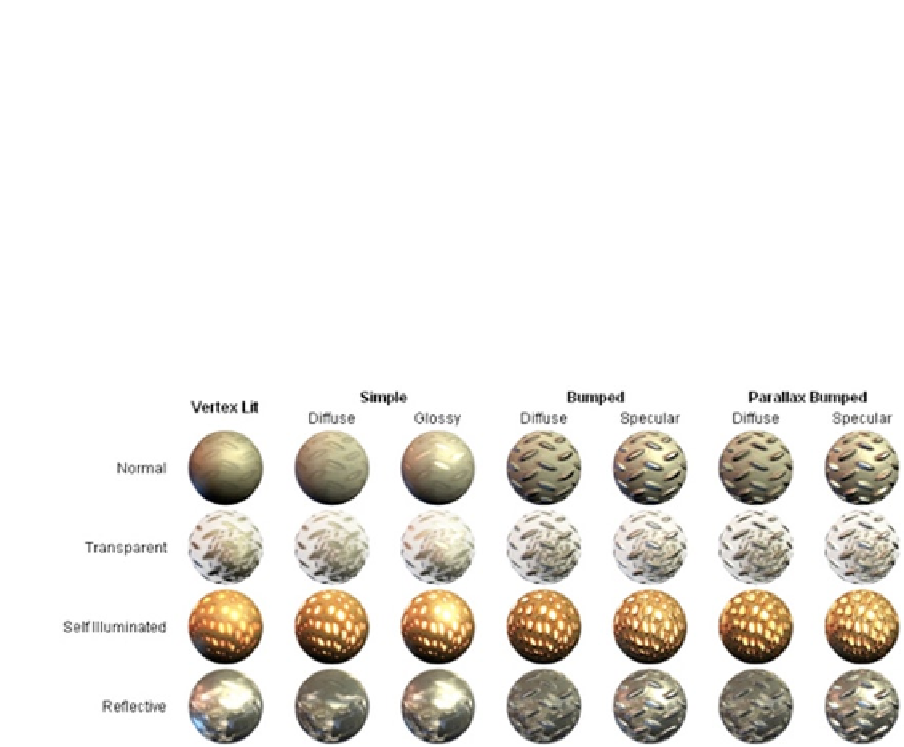
Materials set the appearance of the model, such as the difference between a dull or shiny reflective
quality, by combining
shader
scripts and
texture
images. See Figure
3-20
for examples from the
dozens of shaders that Unity provides.
Figure 3-20.
Examples of some of the available shaders as shown in the Unity User Manual
Time to make the cube a little snazzier. In the Unity editor top menu, select Assets ➤ Import New
Asset . . . to open a pop-up window. Browse your files for an image you like or use the pink rose
image included in the downloadable resources for this topic (you can find these resources at
http://www.apress.com/9781430265863
). Click Import and the image file will appear in the Project
panel. Drag the image to the cube in the Scene view and several things happen. A material
incorporating the new texture image is created and appears in the Materials folder in the Project
view, while at the same time the new material is applied to the faces of the cube, as you can see in the
Scene view. The image file originally imported into the Assets folder is still there in its original form.
Prefabs
Unity is all about efficient game development. Now that you have configured a snazzy cube, you can
store it as a prefab to be used to quickly create more snazzy cubes for your game. Organization is
key to efficiency, so first create a Prefabs folder to hold this and any future prefabs you create for
this scene.