Game Development Reference
In-Depth Information
Save the script, attach it to the SplashGUI game object, and save the scene as SplashScene. You
used the
OnGUI()
function and created GUI labels and buttons in Chapter 11. In this line of code, the
number 1 corresponds to the index assigned in the Build Settings screen:
Application.LoadLevel(1);
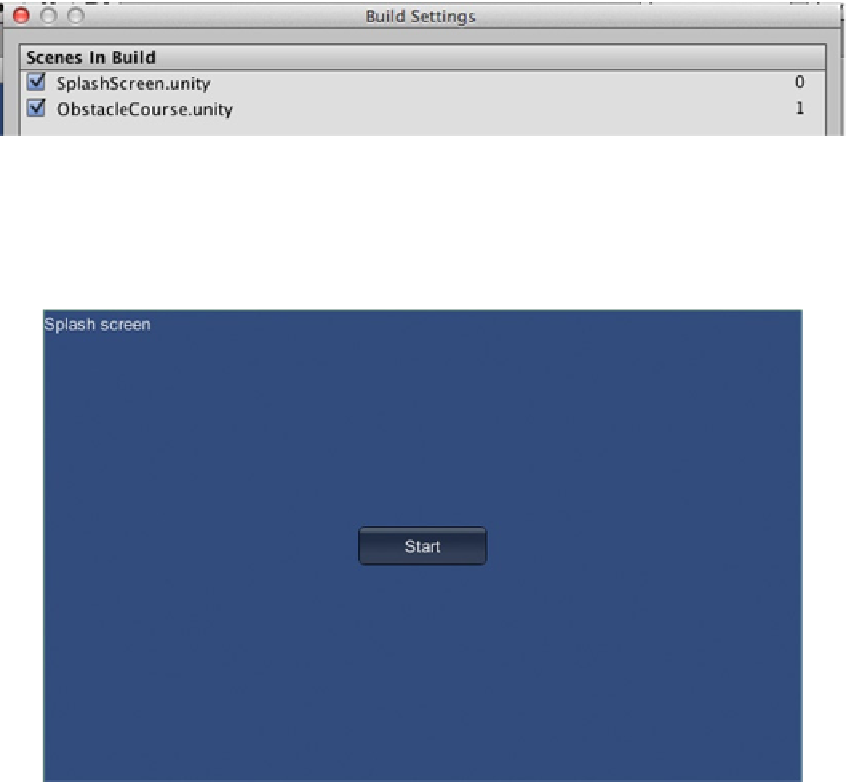
You want the splash screen to be first, so it should have an index of 0 followed by the Obstacle
Course scene with an index of 1.
To accomplish this, in the Unity editor top menu once again select File ➤ Build Settings to open
the Build Settings window. From the Project panel Assets ➤ Scenes folder, drag SplashScene into
the Scenes In Build section. When you do, it will be added to the bottom after the Obstacle Course
scene and assigned an index of 1. All you have to do to rearrange them is to click and drag any item
in the list to where you want it (Figure
12-18
).
Figure 12-18.
Scenes reordered to put the splash screen first in the Build Settings window
Click Build and, when prompted, save and replace the old Obstacle Course build with this newer
one. Now when you play the standalone, when the Unity logo fades away the SplashScreen scene
appears (Figure
12-19
).
Figure 12-19.
SplashScreen scene appears automatically
Click the Start button and there you have it—the Obstacle Course scene appears.