Graphics Programs Reference
In-Depth Information
3.
Rename the background layer Scan 1 (Activate the Background Layer
➤
Right
Click
➤
Edit Layer Attributes).
4.
Lay the other end of the photograph horizontally across the scanning bed,
keeping the orientation the same as the first scan. Scan it into GIMP (Figure
2-6
).
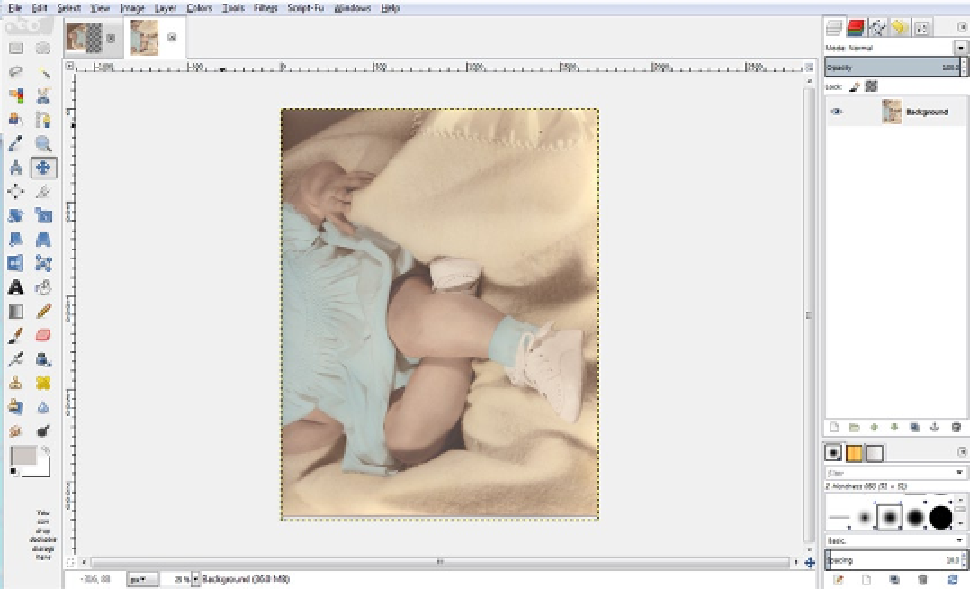
Figure 2-6.
The second part of the image scanned into GIMP
5.
Copy the image to the clipboard (Image Menu
➤
Edit
➤
Copy
).
6.
Activate the first scanned image by clicking the tab on the
Image Navigation Bar
.
7.
Paste the second part of the image (Image Menu
➤
Edit
➤
Paste As New Layer).
8.
Change the layer's boundary size to match the image size (Layer
➤
Right Click
➤
Layer to Image Size).
9.
Rename the layer Scan 2.
10.
Lower the layer's opacity enough to see the first scan underneath. This will help
make alignment easier (Figure
2-7
). Using the Move tool, position the layer
into place and use the Arrow keys to nudge it in small increments, for precise
alignment.
Search WWH ::

Custom Search