Graphics Programs Reference
In-Depth Information
This method is worth investing some time and practice in, when using the first “quick” method of
conversion doesn't quite give you the results you want. In this case, the result was only marginally better. If
you are converting a color image that has a damaged color channel into black and white, this method can
make a world of difference in the finished version.
Tutorial 17: Converting Color to Black and White (No. 3)
As we briefly saw earlier, another way of converting color images to black and white is to use the Decompose
dialog, to create a new image with the separated color channels as layers. This method offers a great deal of
control in the final outcome, because you can use the best attributes from each channel, employing a layer
mask (or masks).
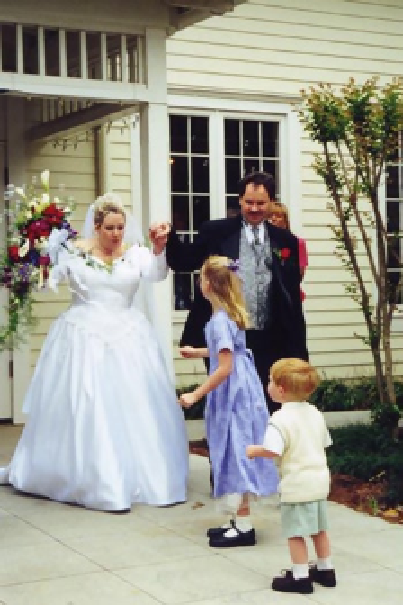
We'll convert this wedding photo (Figure
5-5
) into black and white, by working with the Decompose dialog.
Figure 5-5.
A wedding color photo that would look great as a black-and-white image
To convert this image, follow these steps:
Open the image (
Ch5_just married 2000
) found in the Practice Images folder.
1.
2.
Open the Decompose dialog (Image Menu
➤
Colors
➤
Components
➤
Decompose). Choose the default RGB Color Model setting and select the
Decompose to Layers option.
3.
The image will appear in black and white, with the Red channel on top (Figure
5-6
).
Search WWH ::

Custom Search