Game Development Reference
In-Depth Information
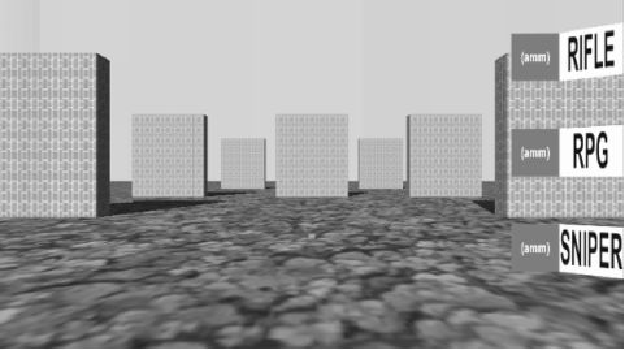
Illustration 88:
Basic scene constructed to test different weapons
The walls you see in Illustration 88 are constructed using destructible building blocks
similar to those we used in section 4.6. However, we are going to make some modifications
on these building blocks, therefore we need to create a new prefab other than the one used
in section 4.6. One good thing about prefabs is ability to modify hundreds of objects from
a single place, so we are going just to make a copy of the original
ReturnableBrick
prefab,
rename it to
ShootableBrick
, and use it to build these walls. We are going to come back
later to our prefab to modify it. Now we need to create a new object and name it
player
,
and position it in the same position of the camera. This object is going to be used as aiming
and shooting point, which means that it must initially look forward towards the scene (the
positive z axis of the object must point to the same direction of the camera). Additionally,
we need to add three empty children to this object, which are the weapons to be used by the
players. These objects should be named after the weapons they represent:
Rifle
,
RPG
, and
Sniper
.
The three different weapons (rifle, RPG, and sniper) have common properties such as the
ability to fire them, their need to ammo, and so on. On the other hand, each one of them has