Graphics Programs Reference
In-Depth Information
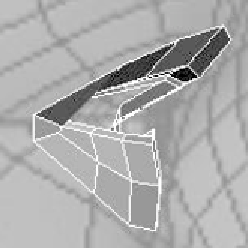
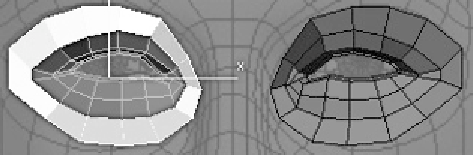
Figure 13-6: Perspective view of the eye
area
Figure 13-7: Side view of the
eye area
Go ahead and add another row of polygons around the outer
edge of what we have done that go all the way up to the eye-
brow and out to the cheekbone.
Figure 13-8: The new ring of polygons
Good stuff so far! Let's continue by moving down to the
mouth. By moving around, we take other things into account.
For example, let's say we have a number of edge loops in the
mouth that we need to account for up in the nose or cheeks.
By modeling them separately you're not locking yourself into
something bad down the road. Basically, if you model each
piece of the face as you want it to look and then figure out how
to connect the edge loops together, you're better off.