Graphics Programs Reference
In-Depth Information
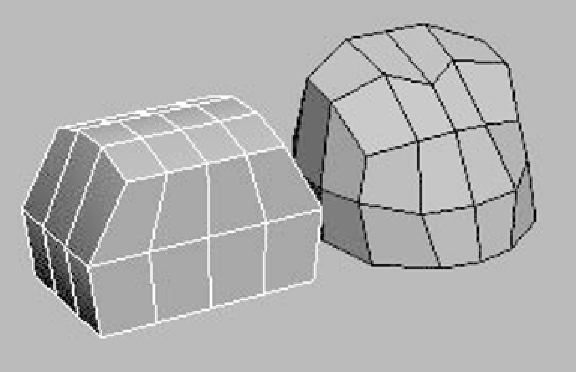
In the Top view, grab the corners of the box and pull them in
to round the corners. I went ahead and pulled the inner faces
out a little more to give it a rounder, fuller look. I also gave the
upper area a downward slope to represent the chest/neck
area.
Figure 11-11: Left, before; right, after
Note:
Remember, using isometric pictures can speed things
along, but sometimes you have to be able to break away
from the pictures and look at just your model in the
Perspective view to make sure everything is looking as it
should. Using only isometric pictures will sometimes give
you a very boxy-looking character.
Now that we have a good base pec and ribs area, we can pretty
much drag down and create the rest of the torso with ease.
Delete all of the faces that make up the bottom of the current
torso.