Graphics Programs Reference
In-Depth Information
Now you've got a single polygon plane that we can apply our
image to. Apply an Unwrap UVW modifier to it and collapse
the stack.
Note:
We'll talk about the Unwrap UVW modifier in Chapter 17.
Basically this modifier allows us to apply an image to the
geometry and that image will show up correctly on that
surface.
Open the Material Editor and open the Maps rollout. Click on
the Diffuse slot and pick Bitmap. Now find your image file
through the Open File dialog box. Find the Self-Illumination
numeric box and set it to 100. Drag and drop this material
onto the plane you've created in your viewport.
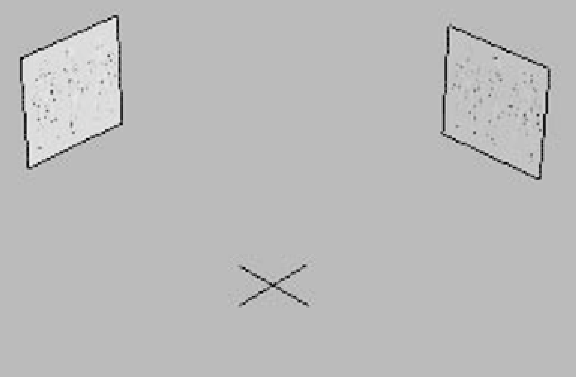
Clone the image and rotate it 90 degrees so you can see it
in your Left viewport.
With the plane that is visible in your Front viewport,
right-click on the Move tool and in the Absolute: World sec-
tion under Y, give it a value of 500. This moves our plane out
of the way so we can model in the middle of the scene. Now in
the Left viewport, select the plane you see here and move
this one 500 units on its x-axis.
Figure 11-3: The positions of our image planes in the Perspective view