Graphics Programs Reference
In-Depth Information
weld points. Click Yes. This will close off our wall. Then right-
click to stop using the Wall tool.
Now that the outer wall is complete, we need to create
our inner walls. Our inner walls will define the hall and rooms.
Using the same technique, create the inner walls shown in
Figure 8-3.
Note:
The Wall tool remembers your last height and width
settings, so your new walls will be created with the same
settings as the outer walls.
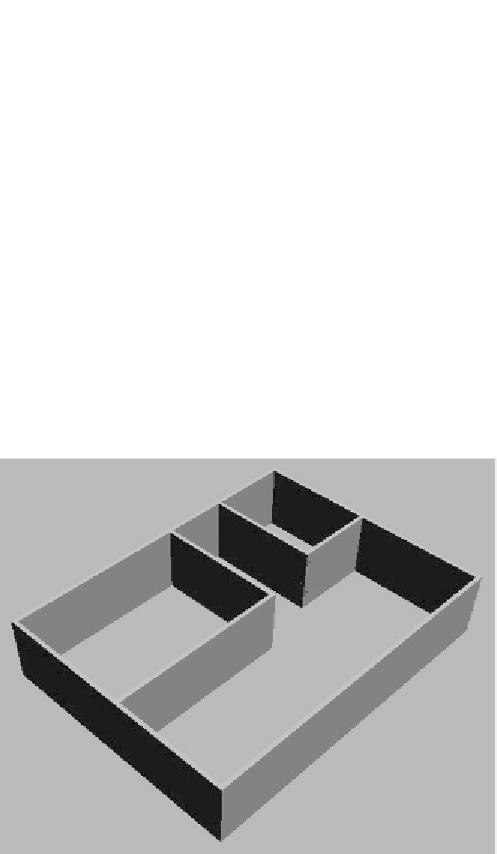
You are completely done with the wall layout process at this
point. Your Perspective viewport should look something like
this:
Figure 8-4: The result
That's all there is to it! This is so much better than the previ-
ous method of using splines, as now we can make modifica-
tions in real time and see our results. This is great when we
want to make minor changes and don't want to have to do a
major amount of work.