Graphics Programs Reference
In-Depth Information
4
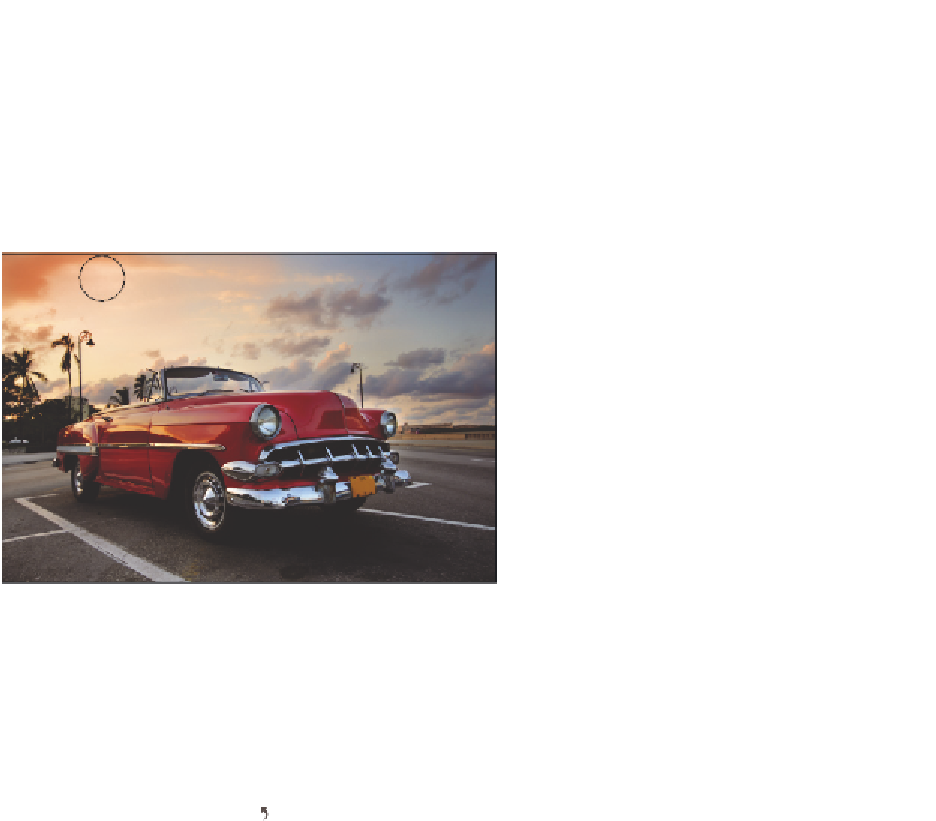
With the Brush tool selected, start painting in the upper-left of the image, adding
orange to the sky. If necessary, press Ctrl+Z (Windows) or Command+Z (Mac OS).
Keep in mind that by masking, or selecting parts of the image, you can have much
more control over where you paint in an image. Read Lesson 5, “Making the Best
Selections,” for more information about selective changes.
Add orange to the sky in the upper-left part of the image.
Choosing other panels
You will now select another panel, the History panel. The History panel allows you
to undo and redo steps, as well as save versions of your image while you work. In this
exercise, you will use the History panel to undo and redo steps. In Lesson 6, “Painting and
Retouching,” you will spend more time in the History panel.
1
Click the History panel icon ( ) that is visible in the Essentials workspace. If you
cannot locate it, choose Window > History.
Selecting the History panel.
Each row in the History panel represents a history state (or step). You can click back
on earlier states to undo steps that you have taken, or redo by clicking the grayed-
out history state. Keep in mind that if you step back in history and then complete a
new step, all the gray history states disappear. This history default can be changed by
selecting History Options from the History panel menu and checking Allow Non-
Linear History.