Graphics Programs Reference
In-Depth Information
5
Select the Crop tool. Handles appear around the image area. You can now crop using
one of three main methods:
•
Click and drag from the anchor points surrounding your image
•
Click and drag anywhere in your image to create a new crop area.
•
Enter in a i xed (Constrained) size in the textboxes in the Options bar while the
Crop tool is selected.
Since the i rst two methods are self-explanatory, you will experiment with the third
method, entering a i xed amount for your crop area.
6
In the Options bar enter
500 px
in the i rst textbox, and
300 px
in the second
textbox. Press the Tab key after you type in the 300 px value. The crop area
immediately changes on your screen to rel ect this amount.
Enter pixel values into the Crop tool Options bar.
7
Uncheck the Delete Cropped Pixels checkbox in the Options bar.
8
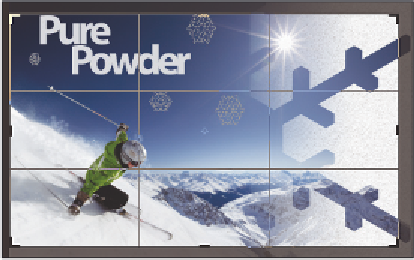
Click and drag from the lower-right corner to see that your crop area remains
proportionally correct to the values that you have entered. You can also see a crop
preview in your layers panel. Click and drag to any size, making sure that you have some
of the image area cropped, as indicated by the crop overlay that appears on your image.
9
Press the Commit current crop operation button ( ) in the far right of the Options bar.
10
Select your Move tool ( ), and then select Layer 0. Click and drag to reposition
the contents of this layer. Note that the pixels were not actually deleted; you can
reposition any of the layers in this image i le to show original content. Keep in mind
that the cropped content of layers is saved, but not Background layers. This is why you
converted the Background layer into a layer in step 4.


