Graphics Programs Reference
In-Depth Information
4
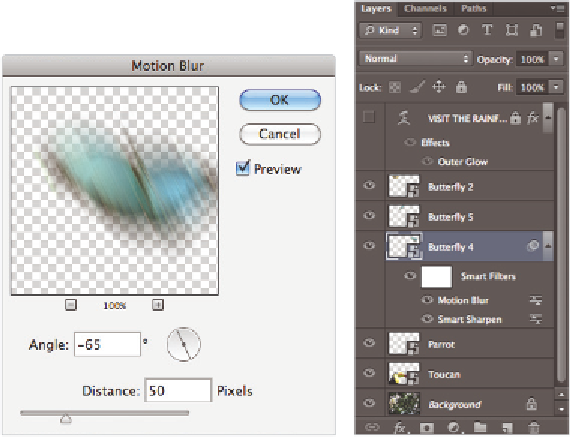
Choose Filter > Blur > Motion Blur. You may have to click and drag the Motion
Blur dialogue box down and to the left in order to see the image. In the Motion Blur
window, type
50
in the Distance text i eld. This creates a blur of 50 pixels in both
directions. Now you will change the angle of the blur.
5
Click on the right side of the angle dial, and then click and drag counter-clockwise
until the angle value is approximately
-
65 degrees; then press OK. Don't worry about
how the ef ect looks; you will be editing it shortly. The Motion Blur ef ect is now
above the Smart Sharpen ef ect.
Apply a motion blur to the layer.
Two smart i lters are applied to the
same layer.
6
Click on the Visibility icon to the left of the Motion Blur ef ect. The Smart Sharpen
ef ect is still active; it is just hidden because you've turned the i lter of . Click the
Visibility icon in the Motion Blur line to bring the Motion Blur ef ect back.
This feature of Smart Filters is great, but what if you want only part of the i lter to be
applied to the layer? In this example, combining Sharpen and Blur i lters doesn't make
much sense. However, with a bit of masking, you can allow certain areas to remain
sharp, while other areas are blurred.
7
Click the white thumbnail to the left of the Smart Filters label, immediately above
the two i lter ef ects. This is the default layer mask that is created whenever you add
a Smart Filter. It will allow you to mask out the areas where you don't want the i lter
ef ects to appear, while leaving the areas you do want i ltered alone.