Graphics Programs Reference
In-Depth Information
1
Choose File > Open As Smart Object. Navigate to the ps10lessons folder, select the
ps1005.psd i le, and press Open to open the image in a new window. Notice that the
title bar of the window reads ps1005 as Smart Object-1. This is not the original i le,
but rather a copy of the original i le.
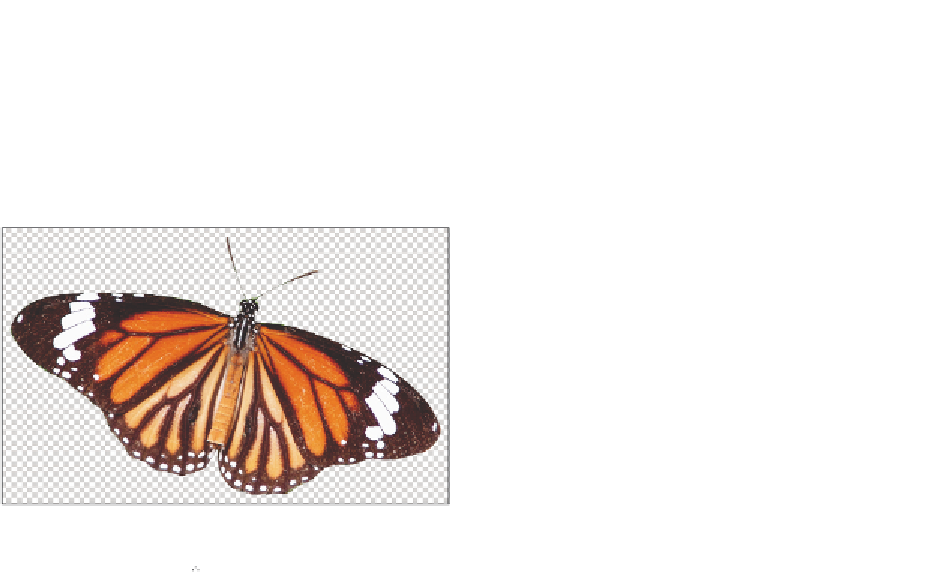
An image opened as a Smart Object.
2
Select the Move tool ( ), then click and drag the butterl y image onto the tab
labeled ps1001_work.psd. Wait for a moment until the image toggles into view, and
then drop the new layer onto your image. Note that the layer is named ps1005 and has
the Smart Object thumbnail.
3
In the Layers panel, double-click on the layer name, ps1005. When the text becomes
highlighted, type
Butterl y 3
. Press Enter (Windows) or Return (Mac OS).
4
Select the ps1005.psd image, and choose File > Close, or select the Close button in the
document window. When prompted to save the i le, choose to not save the i le. The
Smart Object i le is separate from the original and is essentially embedded inside the
ps1001_work.psd i le.
5
In your ps1001_work.psd i le, select the Butterl y 3 layer and, using the Move tool ( ),
drag it to the center of the image window. Choose Edit > Free Transform, or use the
keyboard shortcut Ctrl+T (Windows) or Command+T (Mac OS). Click and hold the
Shift key while dragging any corner anchor point. Scale the butterl y to approximately
20 percent. Press Enter (Windows) or Return (Mac OS) to commit the change.
Reposition the butterl y to the upper-right corner.
This is a large image. If you cannot see the edges of the Butterl y 3 smart object, type
20
into the
W and H text boxes in the Options bar at the top of the workspace.
6
Choose Image > Adjustments. Note that virtually all the options are grayed out. This
is because image adjustments such as Levels and Curves are destructive by nature and
cannot be applied to smart objects. Release the mouse without making a choice. In a few
steps, you will look at an alternative method for adjusting the appearance of this layer.