Information Technology Reference
In-Depth Information
Note:
In unusual situations, you might see a dialog asking you to clarify which album
you've inserted. Select the choice that seems best to you, and click OK.
Back in Step 3, if you chose an option that included importing, then iTunes begins ripping
your CD automatically. Otherwise, iTunes does whatever you chose in Step 3.
To rip the CD manually, click the Source pop-up menu in the upper-left, choose the CD, and
then click Import CD near the upper-right. iTunes asks you to confirm your import settings
before it begins ripping.
After the rip, if iTunes doesn't eject your CD automatically, open the Source pop-up menu
near the upper left and click the Eject button adjacent the CD's name in the menu.
While ripping a CD, iTunes tries to import album art into the ripped file, but sometimes it
can't. Fortunately, it's easy to add it yourself:
1. Search
Amazon.com
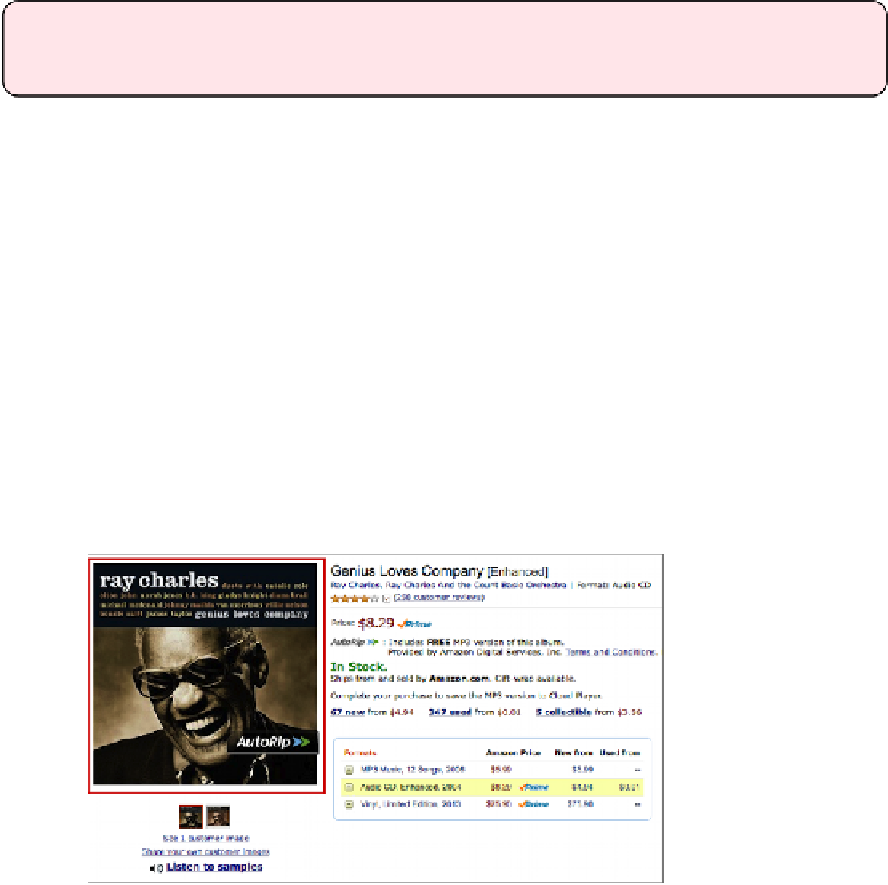
for the CD you imported. Pull up the product listing (
Fig-
ure 69
), and click the artwork at the left to open it at full size.
Figure 69:
Search Amazon for the CD you need artwork for,
then click the album art at the left.
2. Control-click the image, and choose Copy Image (
Figure 70
).

