Game Development Reference
In-Depth Information
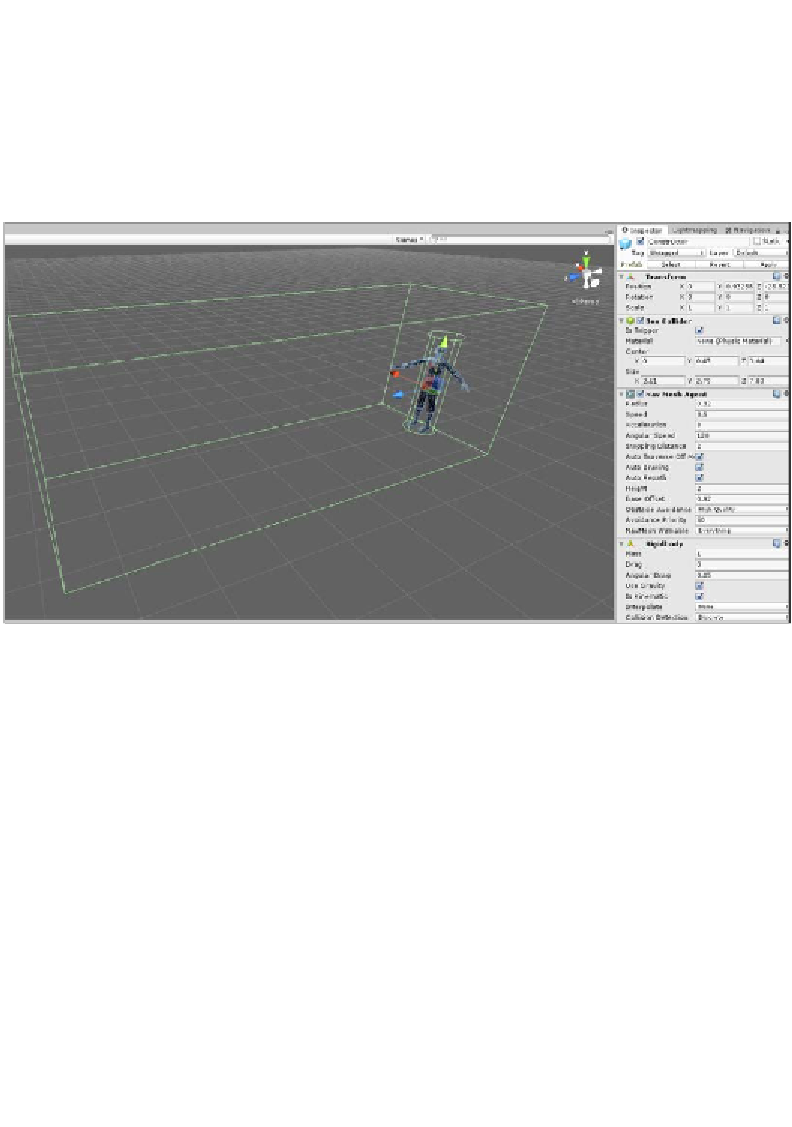
Now, add a
BoxCollider
component to the object and enable the
Is Trigger
checkbox to convert it into a trigger volume, that is, a volume that allows physical
objects to pass through as opposed to blocking them. This will be used by the AI to
approximate an agent's field of view or viewing area. It will follow the agent, and
only other objects entering its field are classified as worthy of further consideration.
To size the volume to the agent's field of view, use the
X
,
Y
, and
Z
size fields, as
shown here:
Using a BoxCollider component to configure the field of view for an enemy agent
Finally, create a new C# script file,
AI_Enemy.cs
, in the project to define the enemy
intelligence. This script will encapsulate the complete AI for the enemy character and
will be developed over the course of this chapter. Once the file is initially created,
attach it to the enemy object in the scene. We're now ready to jump into the AI
coding and graph building! We'll start by creating FSMs and their attendant states
that specify how the enemy should behave.
Finite State Machines in Mecanim
From this point onwards, we'll concentrate mainly on coding AI for the enemy
character both in C# and in terms of visual coding for a Mecanim graph. Mecanim
refers to the Unity's Animation System (
http://docs.unity3d.com/Manual/
MecanimAnimationSystem.html
)
. In the upcoming sections, we'll piece together
a complete class that looks at and discusses specific sections of code, and the full
class source code will be pieced together as we go along. It can be viewed in the
completed project in the
AI_Enemy.cs
file.