Graphics Programs Reference
In-Depth Information
12.
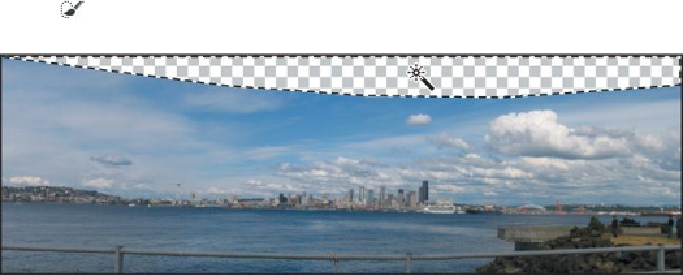
Select the Magic Wand tool ( ), hidden behind the Quick Selection tool (
) in the Tools panel. Then, click in the transparent area at the top of the
image to select it.
13.
Choose Edit > Fill.
14.
In the Fill dialog box, choose Content-Aware from the Use menu, and
click OK.
Photoshop fills the transparent area with color that blends with the existing sky.
15.
Choose Select > Deselect.
The panorama looks great, but it's a little dark. You'll add a Levels adjustment
layer to brighten it a little bit.
16.
Click the Levels icon in the Adjustments panel to add a Levels adjustment
layer.
17.
Select the White Point eyedropper, and then click on a white area of the
clouds.


