Graphics Programs Reference
In-Depth Information
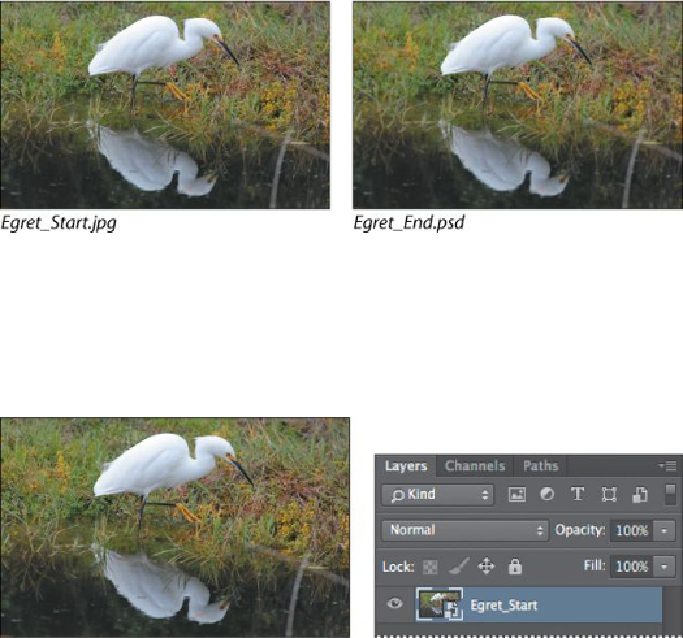
In the final image, the egret appears sharper, as its reflection and the grass around
it have been blurred. Iris Blur, one of the interactive blurs in the Blur Gallery,
makes the task an easy one—no masking required.
4.
Return to Photoshop, and choose File > Open As Smart Object.
5.
Select the Egret_Start.jpg file in the Lesson05 folder, and click OK or
Open.
Photoshop opens the image. There is one layer in the Layers panel, and it's a Smart
Object.
6.
Choose File > Save As, choose Photoshop for the Format, name the file
Egret_Working.psd
, and click Save. Click OK in the Photoshop Format
Options dialog box.
7.
Choose Filter > Blur Gallery > Iris Blur.
A blur ellipse is centered on your image. You can adjust the location and scope of
the blur by moving the center pin, feather handles, and ellipse handles. Photoshop
also opens the Blur Gallery, which includes the Blur Tools, Blur Effects, and Mo-
tion Blur Effects panels.
8.
Drag the center pin so that it's at the bottom of the bird's body.