Hardware Reference
In-Depth Information
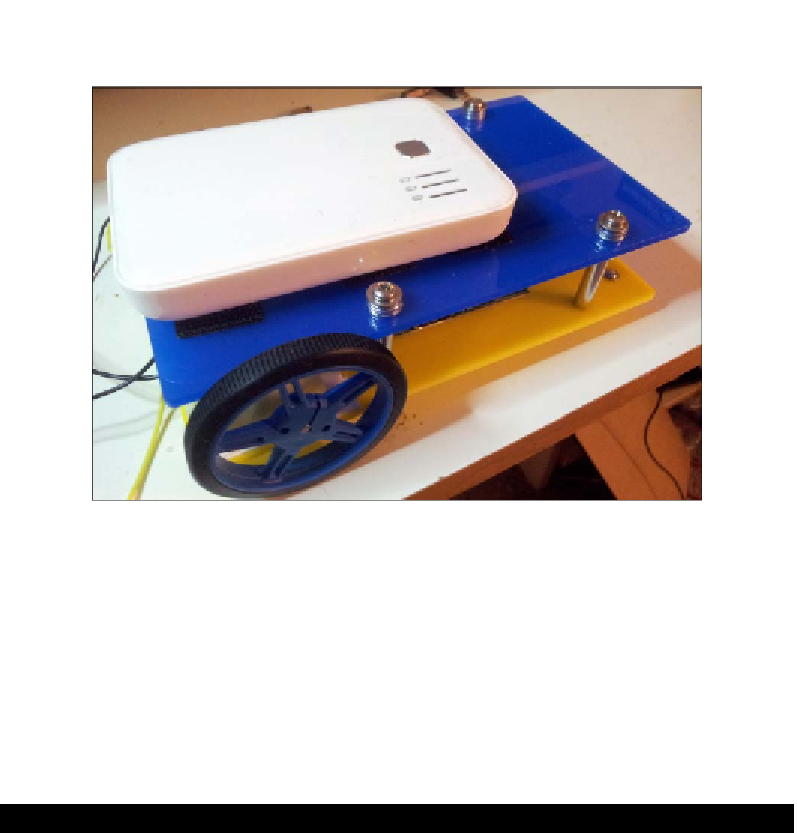
4. We will mount the Pi Plate and the top chassis plate. We will use velcro to mount
the USB batery pack to complete the line following robot assembly.
An assembled robot
5.
Once the assembly is completed, we have to connect the motors and the sensors to
get started with the tesing.
Objective complete - mini debriefing
We have completed the assembly of the line following robot in this task. Once the motor
control code is implemented into the line following logic, we are all set to tesing the robot
on the track. This may require some tweaking the motor speed to make the robot track the
line efecively.
Mission accomplished
In this project, we built a line following robot step by step. We got started with the sensors
followed by motor control, chassis design, arena design, and integraion. Now, we have a
line following robot.