Graphics Programs Reference
In-Depth Information
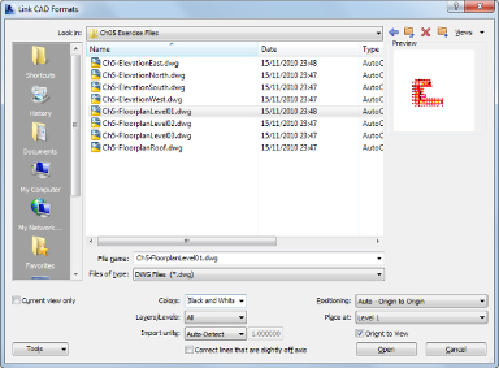
Figure 5.8
Import settings
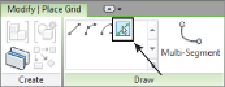
3. The next step is to create building grids based on the architectural floor
plan. From the Architect tab, select the Grid tool. With this active, use
the Pick Lines option from the Draw panel. Although this is a quick
method of creating grid lines, be sure to keep an eye on the grid head
location. If the lines have been drawn in different directions, the result
is that the grids are orientated differently. Clicking the grid head and
selecting the adjacent check mark to swap the orientation will
work—but only in this view. As long as you create these elements
consistently, they will be displayed in a consistent manner through the
rest of the project.
Start with Grid 1 and select each subsequent grid, except the
intermediate grids. You can come back and do those after creating Grid
10. Once the vertical grids are complete, do the horizontal ones. Starting
at A, you will rename this first alphabetic grid and then follow with B, C,
and so on. Once all the major grids are created, go back and create the
intermediate ones. With this workflow, you have to rename only a few
grids rather than every single one.