Hardware Reference
In-Depth Information
Hello WiFi!
Remember the daylight color server you
built in Project 6? In this project, you'll
rebuild it using an Arduino WiFi shield.
You'll see that most of the code and
the circuit is exactly the same. It's only
the physical communications layer that
changes.
MATERIALS
» 1 Arduino WiFi shield
» 1 Arduino microcontroller module
» 1 WiFi Ethernet connection to the Internet
» 3 10-kilohm resistors
» 3 photocells (light-dependent resistors)
» 1 solderless breadboard
» 3 lighting filters
Making the Connections
The WiFi shield communicates with the Arduino via SPI
just like the Ethernet shield, so build the circuit just as you
did in Figure 4-4, but replace the Ethernet shield with a
WiFi shield.
NOTE:
The WiFi shield can't work with the Arduino Ethernet or
Ethernet shield because all three use the same SPI chip select pin.
so the key index indicates which one you're using. Most
of the time, you'll use key index 0. Below are some typical
examples of WEP and WPA combinations:
To make the network connection, you'll need to know the
name of the WiFi network you're connecting to (also called
SSID), and what type of security it uses. This is the same
information you use to connect other wireless devices
to your WiFi router. The WiFi shield can connect to open
networks or networks secured with WEP (both 40-bit and
128-bit), WPA, or WPA2 encryption. For WPA and WPA2,
you'll need the password. For WEP, you'll need the key and
the key index. A WEP key is a long string of hexadecimal
digits that is used like a password. 40-bit WEP keys are
10 ASCII characters long, and 128-bit WEP keys are 26
characters long. WEP routers can store up to four keys,
WPA network name: noodleNet
WPA password: m30ws3rs!
WEP network name: sandbox
WEP key index: 0
WEP 40-bit key: 1234567890
WEP network name: sandbox
WEP key index: 0
WEP 128-bit key: 1A2B3C4D5E6FDADADEEDFACE10
If you're using a home router, chances are you or a family
member set up the wireless router so you know the infor-
mation. If you're connecting to a school or institutional
router, ask your network administrator for the details. Once
you have this information, you're ready to start programming.
!
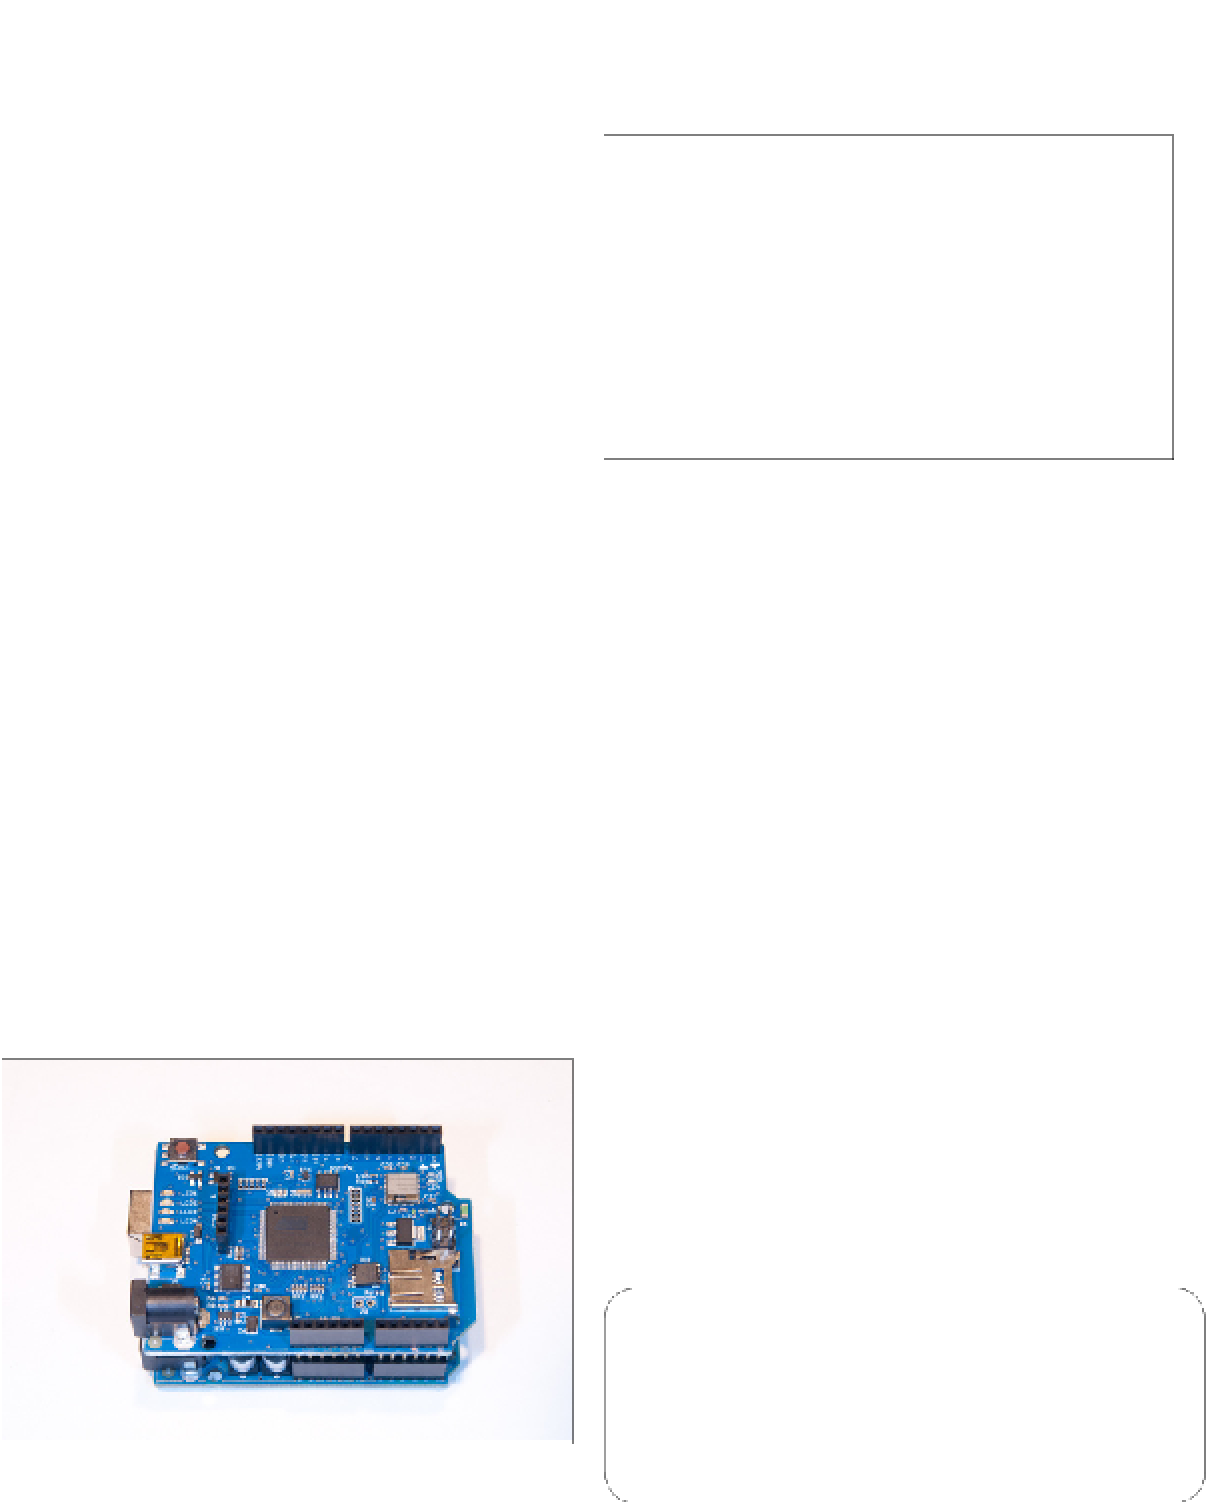
The Arduino WiFi shield, shown in Figure 6-22, is a
new product, so its programming interface is subject
to change as it develops. For the latest updates on the WiFi
shield, the WiFi library, and examples of how to use it, see the
Hardware section at
http://arduino.cc
.
Figure 6-22
Arduino WiFi shield.