Hardware Reference
In-Depth Information
The previous page
is really simple, but
as you can see, it reloads the entire
page each time. However, if you want
only the image to reload, you can do
something fancier with some CSS DIV
tags and a little JavaScript.
Refine It
<html>
<head>
<title>Cat Cam</title>
<script type="text/javascript">
function refresh() {
var refreshTime = 5 * 1000; // 5000 ms
var thisImage = "catcam.jpg"; // the image location
var today = new Date(); // the current time
// add the time to the end of the image string
//to make a unique URL:
document.images["pic"].src=thisImage+"?"+today;
// reload if the images are loaded:
if(document.images) {
window.onload=refresh;
}
// if the time is up reload the image
t=setTimeout('refresh()',refreshTime);
}
</script>
</head>
<body onload="refresh()">
<center>
<h2>Cat Cam</h2>
<img src="catcam.jpg" id="pic">
</center>
</body>
</html>
This page is a bit more complex. Only
the image reloads in this page. The
other elements stay stable.
Once you've made the Cat Cam page
to your liking, it's time to automate
the process of taking the picture
and uploading it. First, you'll make
an uploader PHP script. Then you'll
modify the Processing sketch to take
a picture and upload it via the PHP
script. Figure 3-12 shows the image
uploaded to the Cat Cam page.
X
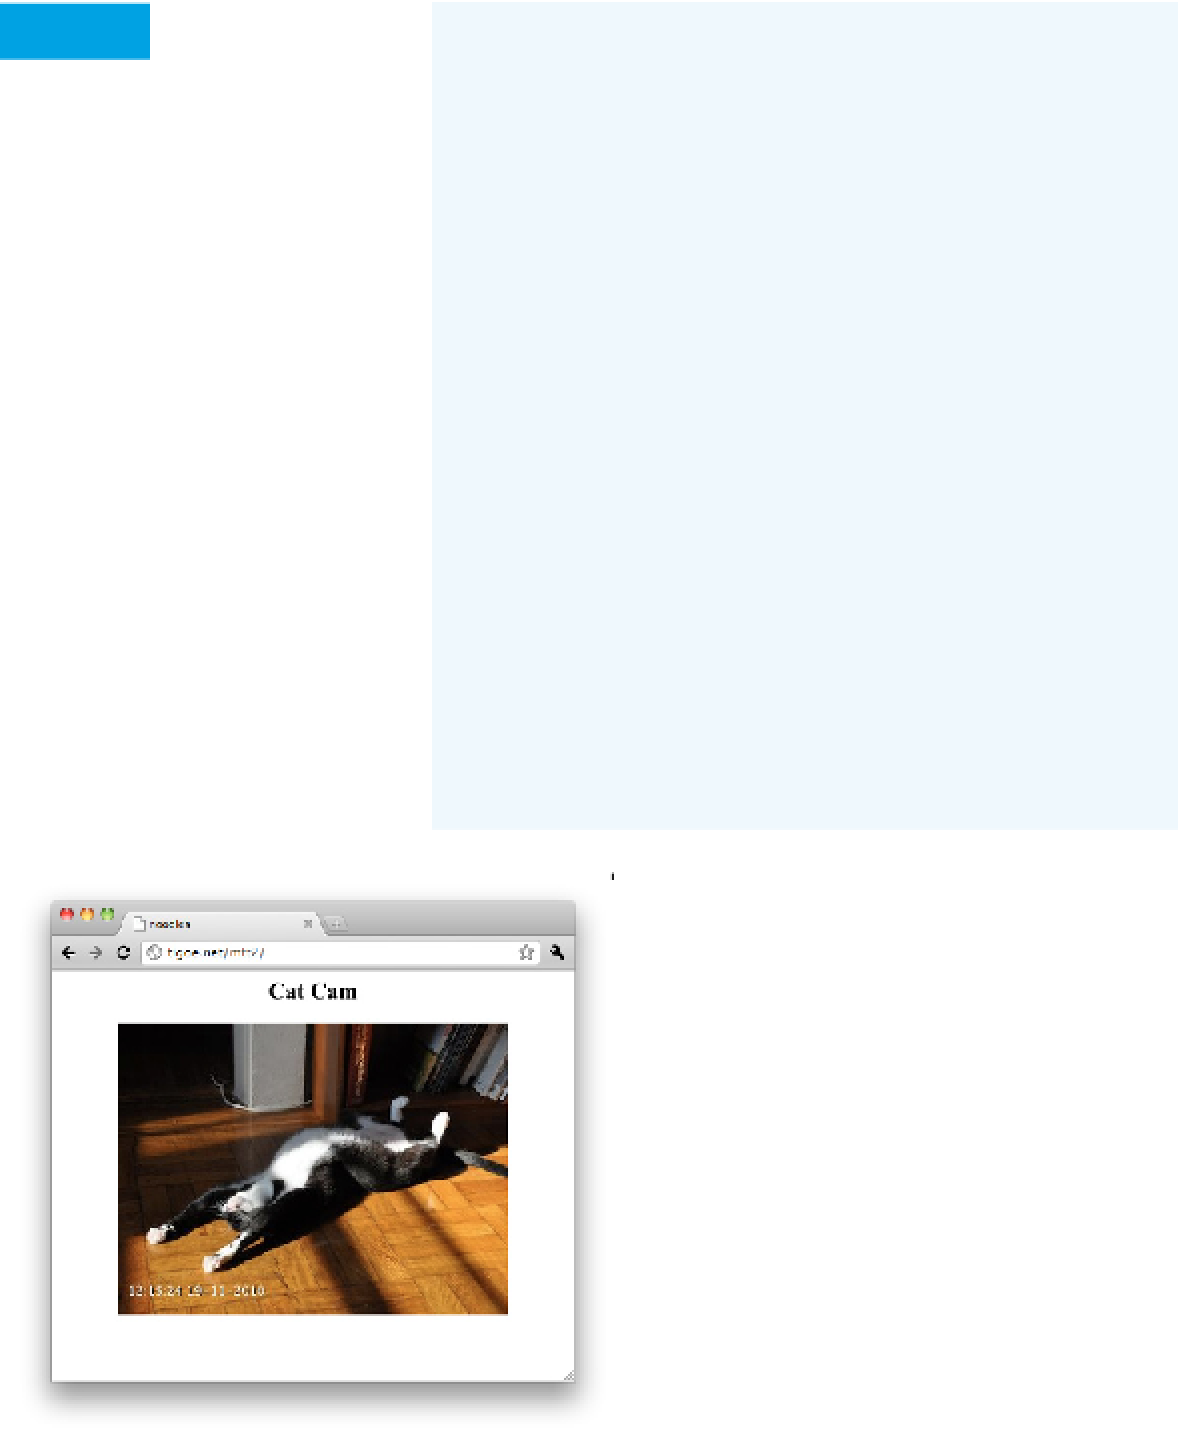
Figure 3-12
Regardless of which option you use, the Cat
Cam page will look like this.