HTML and CSS Reference
In-Depth Information
To Wrap Text Around Images Using CSS Classes
Now you will use an embedded style sheet to wrap the text around the two images on the samplephotos.html
Web page. Remember that an embedded style sheet affects only the Web page into which it is embedded. The
embedded style sheet is placed within the <head> </head> container at the top of the Web page file.
The following steps show you how to insert left- and right-aligned images with wrapped text by adding class
names to the img tags and then defining the classes within the embedded style sheets. Table 3-9 shows the code
you'll need to define the classes in Step 3.
1
•
photos.html
file displayed in
Notepad++, click
immediately to the
left of the s in src on
line 45 to begin add-
ing the class
name to the
first <img> tag.
With the sample-
insert class
named align-left
line 45
•
class=
”align-left”
and
press the
s p a c e b a r
so
that there is a space
between what you just
typed and src.
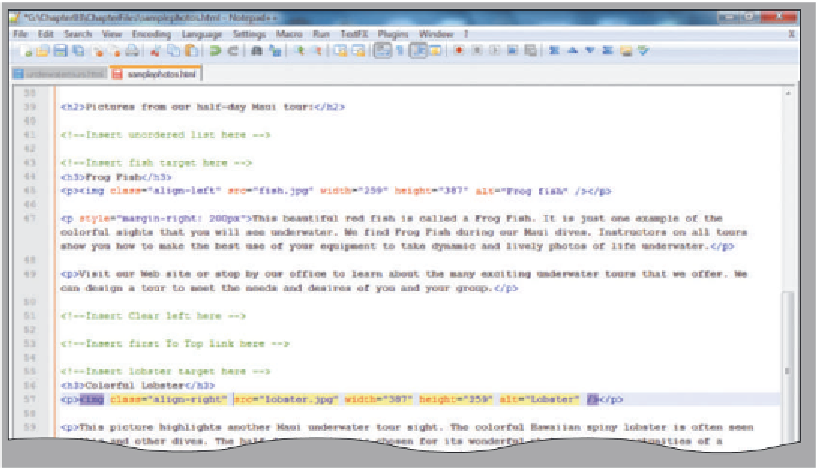
Type
line 57
•
diately to the left of
the s in src on line 57,
to begin adding the
class name to the second <img> tag.
Click imme-
insert class named
align-right
Figure 3-35
•
class=”align-right”
and press the
s p a c e b a r
so that there is a space between what you just typed and src
(Figure 3-35).
Type
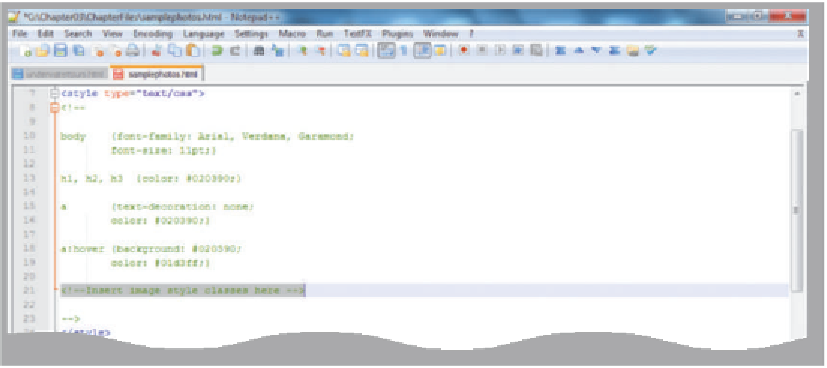
2
•
<! Insert image style
classes here --> on
line 21, as shown
in Figure 3-36, to
begin adding image
classes.
Do I have to press
the
d e l e t e
key to
delete the text that I
highlighted in Step 2?
No, you do not have
to press the
d e l e t e
key to delete the
text on line 21. As
long as the text is high-
lighted, the text is automatically deleted as soon as
you start typing the HTML code in Step 3.
Highlight the line
highlight line 21 text,
which indicates where
to insert the image
classes in Step 3
Figure 3-36