HTML and CSS Reference
In-Depth Information
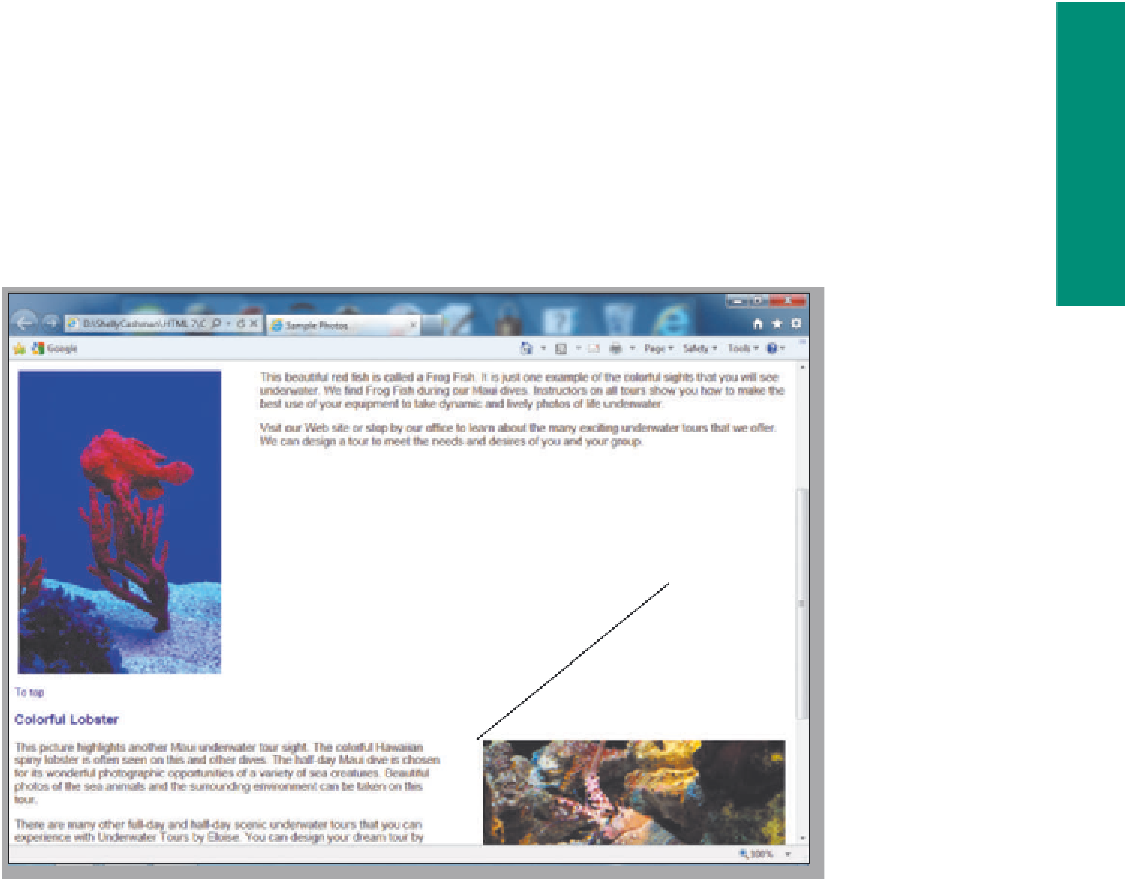
in Figure 3-30 on page HTML 124. You achieve this text wrap by applying the float
property to the image. In addition to floating the element, you should also provide some
space around the image. The margin-left and margin-right properties indicate how many
pixels of space to put around each element. In this case, you will have five pixels of space
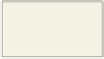
around the right and left of each image. Figure 3-33 shows examples of images with
margin spacing.
5px of space
on left and
right margins
5px of space
on left and
right margins
floated
images
Figure 3-33 Left- and right-aligned images.
There are several ways to align text around images using styles. You can do this
with an inline style (HTML code shown below) or with an embedded style sheet. The
format of the HTML code to add the left- and right-aligned images with an inline
style is:
<img style=”float: left; margin-left: 5px; margin-right:
5px” src=”fish.jpg” width=”259” height=”387” alt=”Frog fish” />
<img style=”float: right; margin-left: 5px; margin-right:
5px” src=”lobster.jpg” width=”387” height=”259” alt=”Lobster"
align=”right” />
where the float property tells the browser on which side to float the image element, and
the margin properties tell the browser how much space (5 pixels) to add around the image.
Using an inline style is a perfectly acceptable way to float an image element, wrap the text,
and add margins of space around the image, but there may be a more efficient way to do it.
If you have numerous images to float on the page, it is better to use classes in an
embedded style sheet than to use inline styles.