Graphics Reference
In-Depth Information
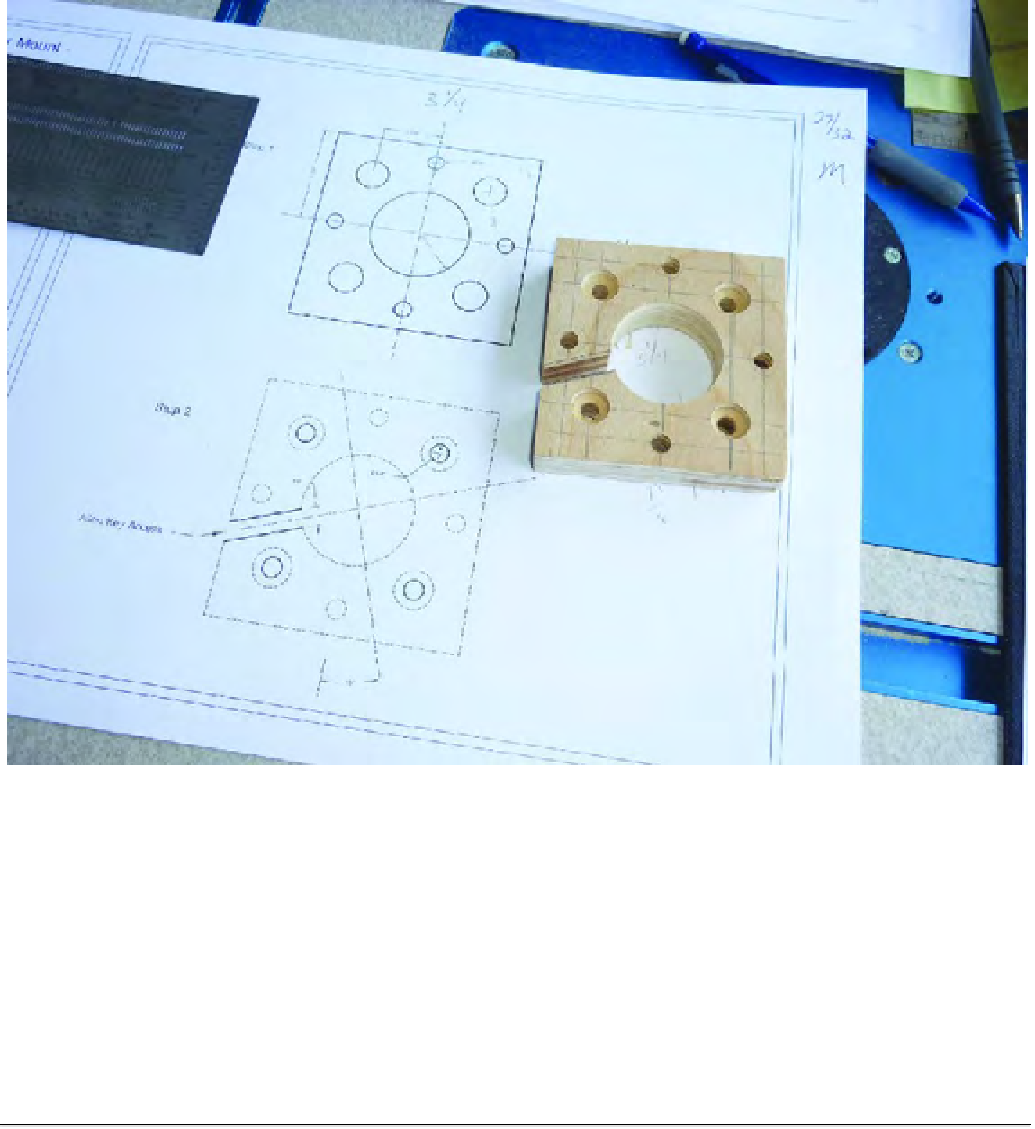
Figure 6-14. Part M with all cuts and drilled holes completed
Finally, Figure 6-15 shows how Part M looks when cut out with Patrick's CNC machine. It's no
longer square-shaped as many of its edges have been shaved down. Feel free to modify your Part M if
you like, but the square version of Part M will work just fine in the final 3D printer assembly.
■
Note
Go wild! If you choose to modify Part M, the top edge of the part (as shown in Figure 6-15) is the only side
of the part that should maintain close tolerance to its dimension as this side will come close to the top of the ZY
plate.

Search WWH ::

Custom Search