Graphics Reference
In-Depth Information
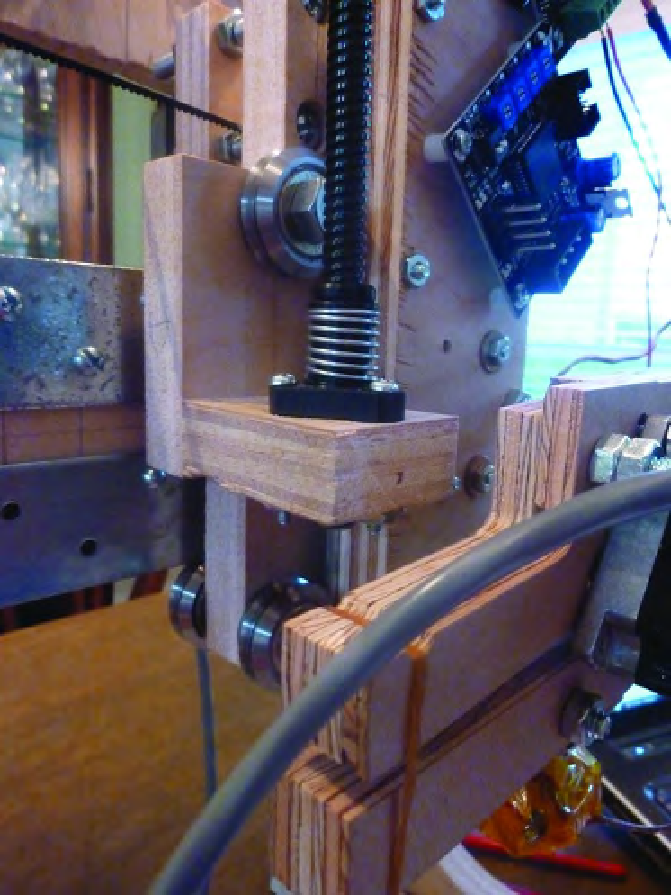
Figure 17-15. Raise the Z-axis until the lead screw is almost flush with Part N.
Now cut approximately three feet of ribbon cable (six-wire cable) and crimping a connector to one
end. Connect this to the Extruder motor driver, add a second connector (oriented identically to the first),
but do not crimp it. Plug in the RS-485 cable to the Extruder Controller, as shown in Figure 17-16.
Search WWH ::

Custom Search