Graphics Reference
In-Depth Information
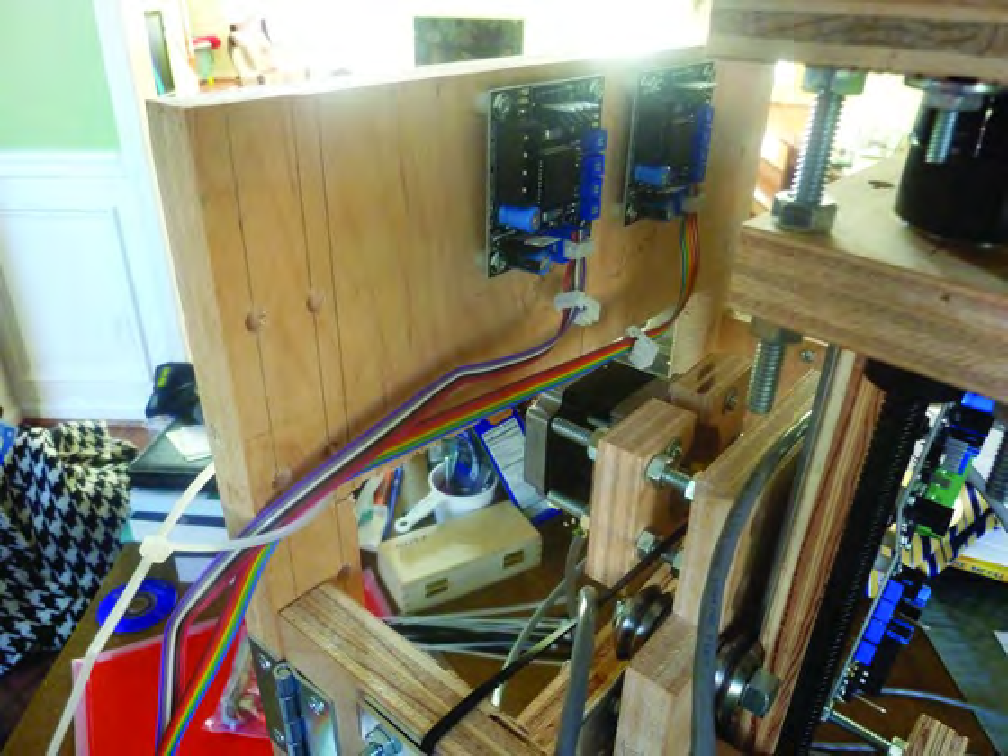
Figure 17-10. Use a plastic tie to pull the ribbons to the side, away from the motor.
After the two ribbon cables are pulled to the right and secured with the tie, drop the ribbons down
to the motherboard. Leave a little bit of slack in the cable. Don't pull them too tight, as you want a little
flexibility and movement in the cables.
Determine which of the motor drivers will control the Y-axis and which will control the Z-axis (we
recommend writing this in pencil on the Machine Back, just below each motor driver). You will once
again move the second connector on each cable down toward the motherboard and crimp it with a pair
of pliers before inserting into the motherboard.
One port is labeled Y-axis and the other Z-axis, so plug in their respective ribbon cables coming
from the stepper motor drivers at the top of the machine. Figure 17-11 shows these two cables crimped
and inserted into the motherboard.
Search WWH ::

Custom Search