Graphics Reference
In-Depth Information
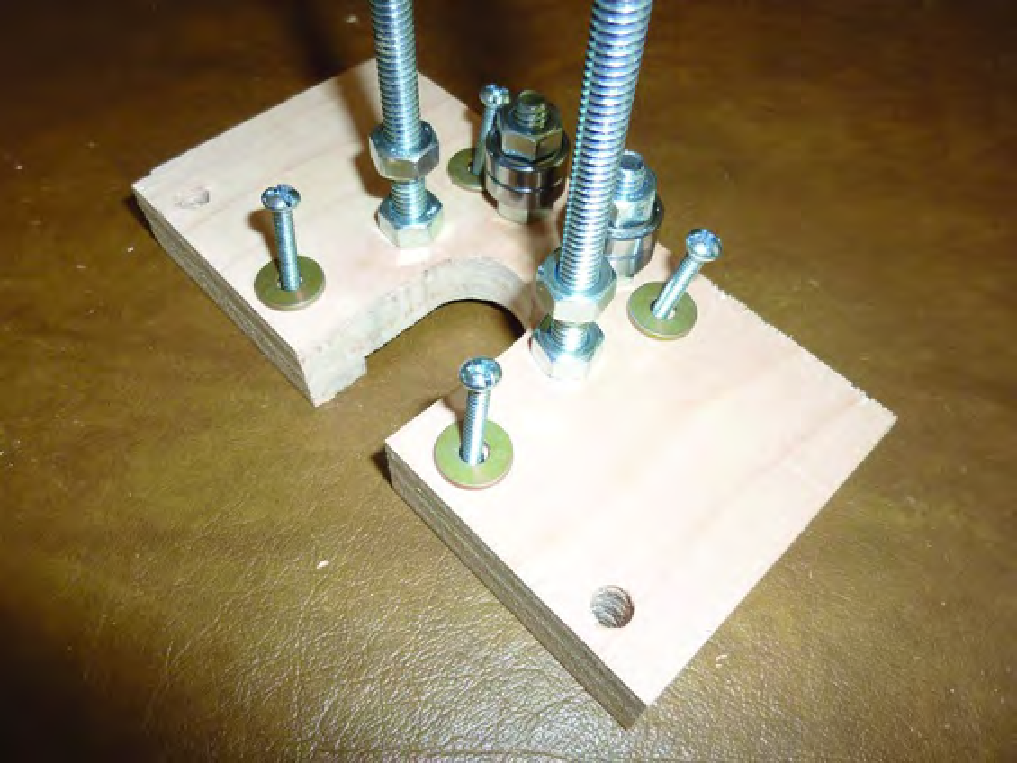
Figure 13-4. Use machine screws and washers to hold the motor to the motor mount.
Hold the #6 nuts against the motor before screwing in the #6 machine screws; the small corners on
each motor will make it difficult to rotate the nuts so it's easier to place the nuts first and then screw in
the #6 machine screws. Figure 13-5 shows the X-axis motor attached to the motor mount. You want the
motor's wire leads to point in the direction of the rear of the machine; simply position this assembly as it
would be bolted to the side of the frame and you'll be able to determine if the motor's wires are pointing
to the rear of the machine. If not, take the motor off and reposition it.
Search WWH ::

Custom Search