Graphics Programs Reference
In-Depth Information
Making Eyebrows
Eyebrows can be created using either fur or
long hair guides. We're going to use long
hair guides so that I can show you one more
technique for creating them.
1. We are going to begin, once again, by
selecting the area of the face that con-
tains the polys the brow will grow from,
and one poly out from that in all direc-
tions (<
}
>). Paste the selection into
another layer. Tap <
o
> to open the
General Options panel, and change the
Patch Divisions to
5
. (That should give
you enough points, without giving you
too many.) Now Freeze (<
Ctrl
>+
<
d
>) the polys.
2. Tap <
k
> to kill the polys so there's
nothing left but points, and use the
lasso to draw the brow in those points.
The “brow” should light up, leaving the
rest unselected. Take a look, and refine
the selection if you are so inclined.
When it's perfect, tap <
"
> (double
quote) to invert the selection. Take one
more look, refine if necessary, and
delete the selected points. That leaves
you with just the brow points.
3. Mirror them, so you have brow points
on both sides of the face, and give them
a little jitter. (Very little in the Z axis, if
your head is set up like most (facing
down the Z axis). You don't want them
to wander away from the skin.)
Hide
the points on your left (select and
<
-
>).
4. Put that layer in the background, a new
layer in the foreground, and draw an
eyebrow hair in the middle of the brow.
You just need one, but don't forget to
shape it in all three dimensions. Mirror
it, so you'll have a hair for the other
brow, too. (If you're using the Numeric
panel to make sure that your mirror is
at 0 on all three
axes, all you
need to do is
choose
Acti-
vate
and hit
<
Return
>
twice. The
panel will use
the same
parameters as
the last time.)
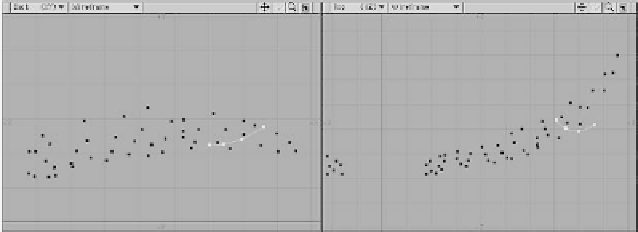
Figure 20-71: Choose the points for the eyebrow guides from the frozen group.
Figure 20-72: Make a single hair in the middle of the brow.


