Graphics Programs Reference
In-Depth Information
splitting it so that I have the possibility of
an additional hairline, as shown in Figure
20-55. It's always a good idea to split it in
some fashion that allows extra versatility, if
you can.
When it's as ready as can be, save the
head, and load it into Layout.
Rendering the Hair
1.
As always, you will need to apply the
SasLite
displacement in the Object
Properties panel, as well as the
Pixel
Filter
in the Processing tab of the
Effects window.
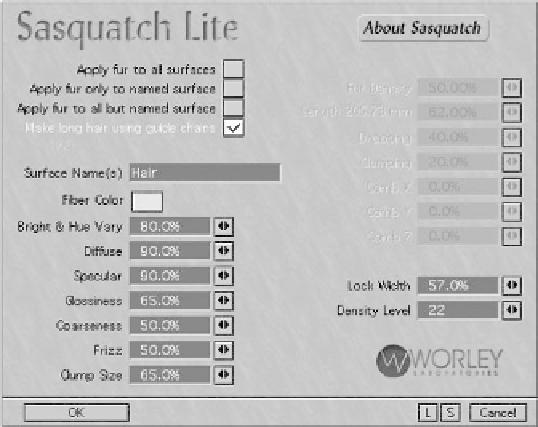
3.
Set your parameters however you want
them. Figure 20-56 shows what I'm
using for this particular model, if you
want to copy them. Once again, I'm not
going into detail about them, since I've
done that already in the LightWave 8
docs.
2.
Open the options for the Displacement
plug-in, and choose
Make long hair
using guide chains
from the list on
the left. Once again, you'll need to type
the name of the surface into the Sur-
face Name(s) field. Unless you make a
typing error, you should see the green
numbers change, so the correct num-
ber of surfaces is displayed on the left.
(In this case, 1 of 2. The second surface
is the Root.)
4.
Once that's done, you need to make a
test render to see if your hard work is
resulting in the hair you envisioned.
But, if you render now, you'll see the
polychain hair guides, as well as the
hair. That's probably not what you
want.
Figure 20-56: The SasLite panel when using long hair guides.