Graphics Programs Reference
In-Depth Information
All of this will probably take a while, espe-
cially if you haven't done this kind of thing
before. But eventually you'll have a full
head of hair guides, ready to convert into
realistic hair.
24. If you haven't used the style-as-you-go
method, select all the one-point polys
in the
Root
layer, paste them into the
Wig
layer, and merge the points now. If
you decide that you want to style it, go
ahead.
If you want to practice making the guides
some other time and just want to use them
for now, you can find the SasLiteHair-
End.lwo model in the Objects\Chapter20
directory on the CD. (On the other hand, if
you really want to dissect the procedure,
there's a model called SasLiteHair-
Guides.lwo there, too, which has layers for
each step of the process.)
When you decide that your wig is as
good as you can get it without a test render,
then it's time to do exactly that! If your wig
is too large for SasLite to handle (25,001
polys, remember), you'll have to split it.
Splitting Hairs toWork with SasLite's
Limits
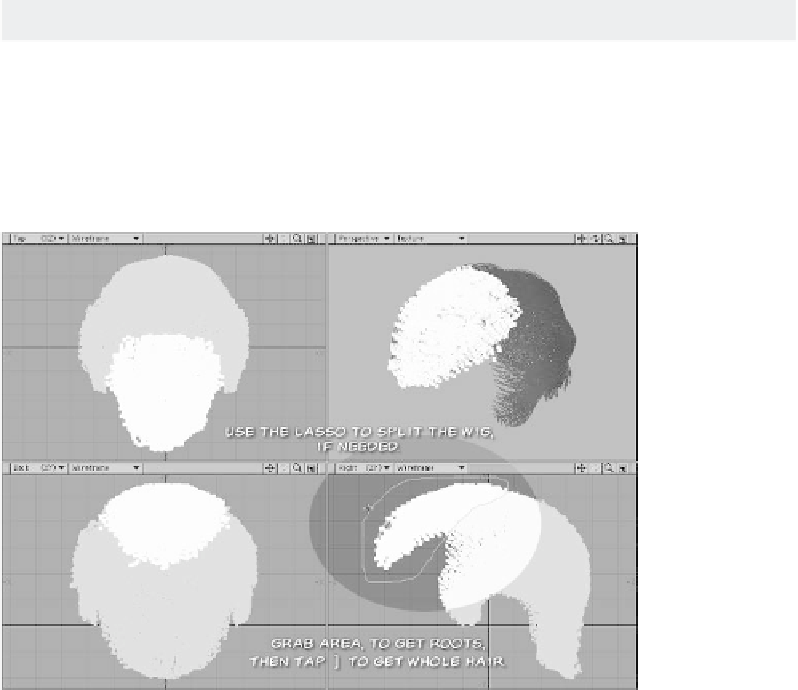
Lasso the section you want to remove, and
then tap the <
]
> key to select all the con-
nected polys. (Anything without a root isn't
going to work, remember, so you need to
keep the whole length of each individual
guide together.) Cut them and paste them
into another layer. Both of them will need to
have their own instance of SasLite. Good
thing that you can copy/paste the options,
huh?
How you split it, of course, is up to you.
Since it's a wig for a balding man, I'm
Figure 20-55: If you need to split the wig, try to do it so you get extra versatility out
of it.