Graphics Programs Reference
In-Depth Information
from the
Hairline
layer in one of the Side
viewports (Right or Left) so you get both
sides, cut it, and paste it into an empty
layer. Then make two or three splines, as if
you were modeling the outermost hairs
(and perhaps a middle hair) from that group.
Mirror those splines across the X axis, and
tweak the mirrored ones a tiny bit so it's
not too symmetrical. (I use the Drag tool
(<
Ctrl
>+<
t
>) for that, because I'm a
control freak, but you might want to use
Jitter.)
19. Then Rail Extrude the points, using
more segments if you can afford it. If
they haven't gone wonky (that's a tech-
nical term), put the guides and the head
in a foreground layer, and take a look. If
they don't penetrate anything they
shouldn't (like the ears), and if they are
standing out from the scalp, move on to
the next step. You don't have to be
exact, since you can style the section
with the Modify tools. But the closer
you are, the easier that will be. Just
don't make yourself crazy with it.
Figure 20-48: Styling the hair with the Magnet
tool.
18. Once you are happy with that part of
the hair, it's time to work on the front
and the hairline. This is done the same
way, except that you work on only a
small section at a time, which gives you
much better control and allows you to
style the hair with (relative) ease.
By small, I mean small. The trick is to keep
the sections to 20 or 30 of the one-point
polys at a time.
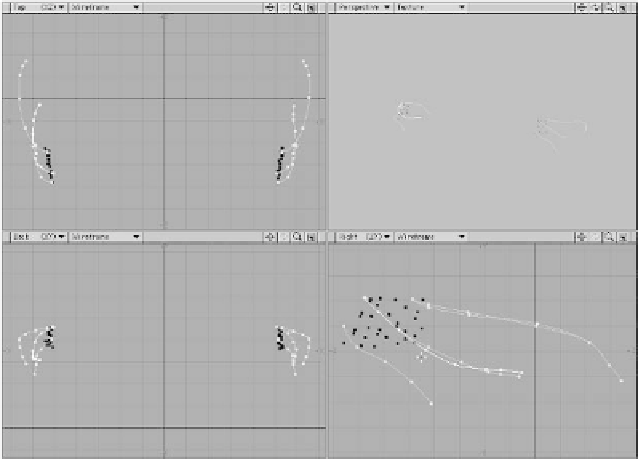
If the portion of the hairstyle you're
working on is symmetrical, select a group
Figure 20-49: Symmetrical groups of one-point polys and rails.