Graphics Programs Reference
In-Depth Information
3.
We don't need the polys, just the
points. So tap <
k
> (or go to
Con-
struct | Reduce: Remove | Remove
Polygons
) to “kill” the polys. That will
leave you with a bunch of points that
aren't connected to anything. Copy the
whole bunch and paste them into
another layer. Now begin to lasso and
remove sections to form the actual
hairline. As always, it helps if you have
a reference. If you accidentally get too
many, you can grab them from the pre-
vious layer, and paste them in here.
Just tap <
m
> to merge the points, so
you won't have to worry about multiple
overlapping point problems. Keep
going until you are happy with it.
inside the scalp <
H
>, tap <
J
> (or
Modify | Transform: Jitter
), and jit-
ter the points a tiny bit so it looks more
like hair roots and less like transplants.
Name this layer
Roots
. (You can name
layers in the Layers window found
under the Windows menu.) You can
delete the points from the previous
layer now, if you feel so inclined, or
save them “just in case.”
5.
We're going to rail extrude the
two-point polys, but right now, we've
only got points. Rail Extrude doesn't
work on points. Therefore, we must
convert our points into polygons. Go to
the
Create
tab and click on
Polygons:
Points to Polys
. Give them the sur-
face
Root
(<
q
>), copy the whole
thing, paste it into another layer, and
call it
Hair Building
.Tap<
q
> again,
and change the surface to
Hair
.
4.
When you're satisfied, tap <
m
>to
merge points. (Even if you haven't cop-
ied points from another layer it's good
to do this just to be safe.) Then reduce
the size of the wig slightly so it fits
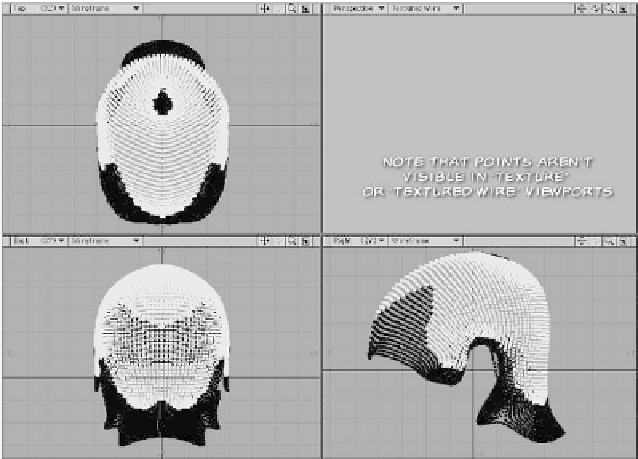
Figure 20-39: Trim the extra points away from the hairline. (Original points shown in
background for clarity.)