Graphics Programs Reference
In-Depth Information
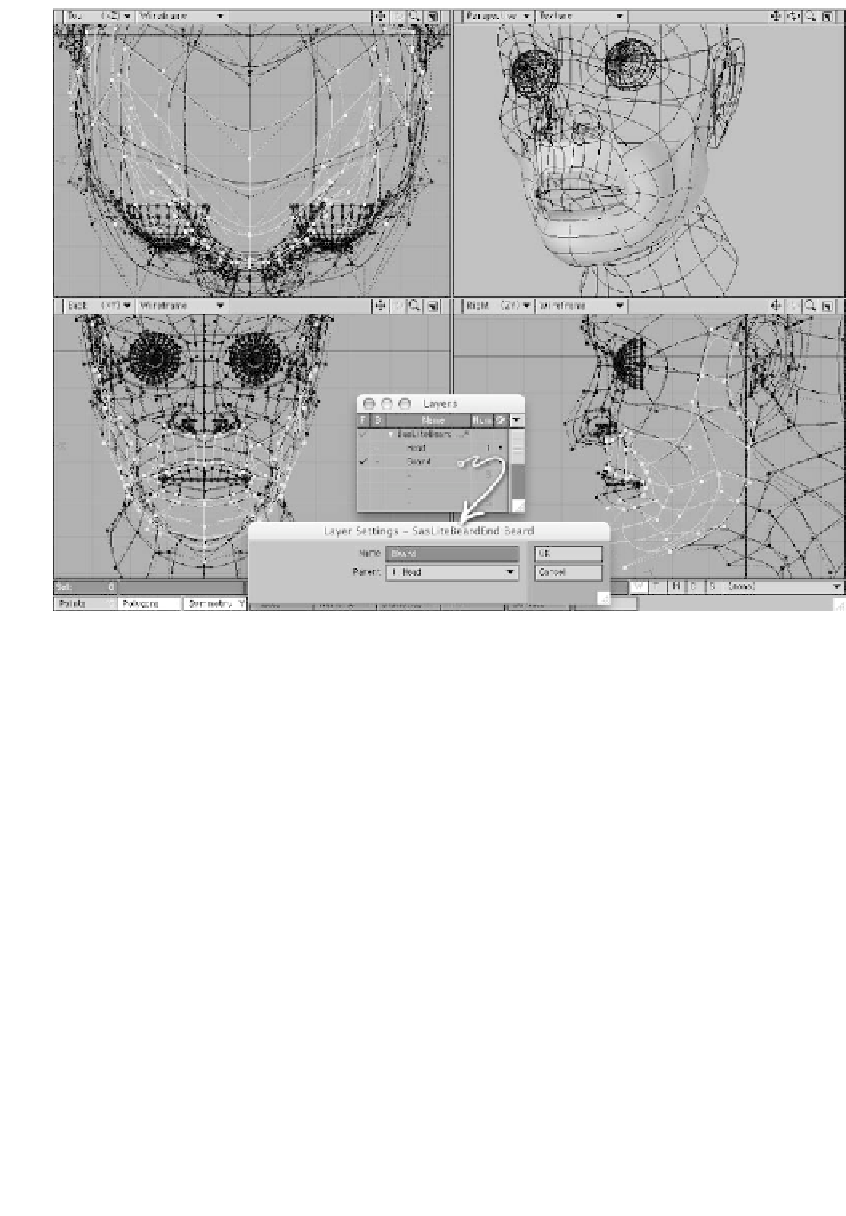
Figure 20-25: The beard polys in the foreground, with the head in the background.
2.
Trim up the beard polys; in other
words, split them, remove points, or
whatever you think you should do to
shape them as much like a “beard wig”
as possible. The hairline will exactly
follow whatever you make here, so
take your time and be careful with it.
layers in the foreground, and check
from all angles to make sure that you
can't see any of the beard through the
skin. When you are satisfied with it,
save it, and send the object to Layout,
so you can start making test renders.
4.
In Layout, apply the SasLite displace-
ment and pixel filter, as you've done in
the past. Leave the settings for both at
the defaults for now; you'll have plenty
of time to tweak them in a moment.
Ta p <
F9
> to get a quick render, so
you can see how the basic shape looks.
3.
When it looks pretty good, assign it a
new material (<
q
>), call it
Beard
, and
make it a color that will contrast with
the skin color. Tap <
H
> to get the
Size tool (or go to
Modify | Trans-
form: Size
) and make it a little smaller,
so it lies under the head polys. Put both