Graphics Programs Reference
In-Depth Information
selected. Using your right mouse but-
ton, drag a bounding box around all of
the keys in the main Graph Editor win-
dow to select them. Then, from the
Keys pop-up menu, select the
Numeric Scale
option. The Scale
Keys window will appear. Change Time
Scale factor to
3
and press
OK
. The
motion of the ball now matches up with
our brick wall.
At this point, you can continue tweaking
with the animation to make it truly excep-
tional. Try adding Colin Cohen's Vibrate
plug-in (available on the CD) to the camera
for realistic camera shake as the ball
impacts the wall. Play with the tools in the
EditFX tab to alter the motion path for
errant bricks (look closely and you'll see
them). Allow this introduction to HardFX to
serve as a launching pad as you continue to
explore LightWave Dynamics.
deform naturally and organically. For exam-
ple, ClothFX can be used to simulate
clothing that stretches and folds over a
character's body. But ClothFX isn't just for
clothing. It can be used to leave footprints
on the ground where a character walks. It
can be used on the surface of a pond to cre-
ate ripples and waves. It can even be used
to simulate the motion of hair. ClothFX is
an extremely powerful tool that can yield an
impressive array of results.
In this section, I'll show you how you
can use ClothFX to simulate clothing for
your characters. Navigate to Scenes\Chap-
ter_19 on the CD and load the Skirt scene.
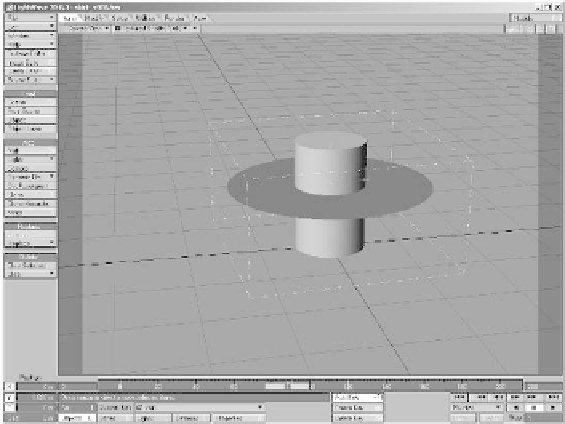
The object in this scene is a simple tube.
The points at the center of the tube were
extended out to form the skirt and Band-
Saw was used to slice it into smaller
segments. The points at the top and bottom
of the tube, along with those at the point
where the skirt connects to the tube, were
placed into a selection set called Fixed.
Finally, the skirt itself was converted into a
sub-patch object. It may not look like much,
but that's the beauty of it. ClothFX can turn
a ho-hum object such as this into something
great.
Before we begin tweak-
ing the settings for
ClothFX, let's talk briefly
about the scene. The tube
object already has three
keyframes, which give it a
slight spin to its right. You
should make it a rule to set
up and refine your motions
first
, then apply ClothFX
for the soft-body simula-
tion. The order here is
important. If you set up
your dynamics first, then
tweak the motion of your
ClothFX
ClothFX is a personal dynamic that gives
your object elastic qualities. You should
apply ClothFX to objects that you want to
Figure 19-28: Our simulated Skirt object.