Graphics Programs Reference
In-Depth Information
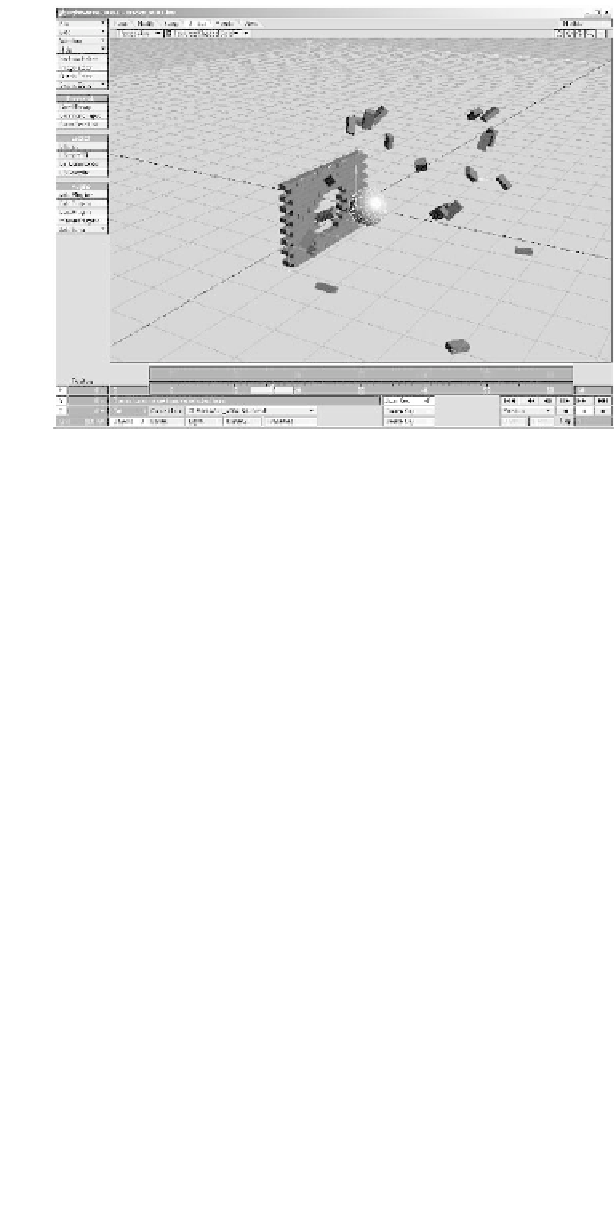
Figure 19-12: The initial results of our simulation.
Wow! Using just the default settings, we've
created a fairly impressive animation. But
it's far from perfect. If you zoom out, you'll
notice that the initial impact causes the
bricks to fly into the air as if they're weight-
less. As odd as it might seem, that's not far
from the truth. Although the bricks do have
a small amount of weight, they currently
exist in a vacuum because we have not told
them that gravity exists. Let's do that now.
We can add gravity as an independent
social dynamic to our scene, but we only
need it to affect our brick wall, so we can
use the internal gravity setting found in
HardFX.
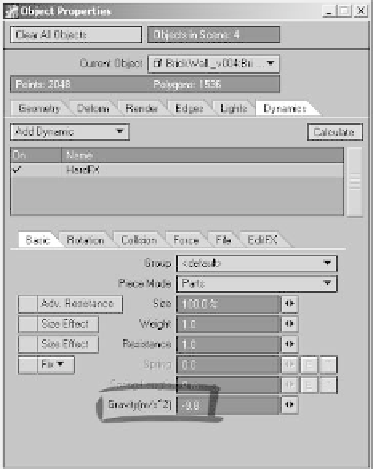
6. With the brick wall selected, click on
the
HardFX
listing in the Dynamics
tab. A new set of options will open
below the Dynamic Properties list.
Click on the
Basic
tab and enter
-9.8
in the Gravity field. Hit
Calculate
to
see the results.
Whoa! The brick wall now collapses on
itself! Let's fix this.
7.
Figure 19-13: Add Gravity to the HardFX settings.
Collision pop-up menu, choose the
Start by Collision
setting (Figure
19-14). Then press the
Calculate
but-
ton to check the results.
That's much better. The Start by Collision
option tells our HardFX object not to act
Navigate to the Collision tab of the
HardFX settings. From the Start by