Graphics Programs Reference
In-Depth Information
in the scene, so set Start Frame to
34
.
(This just pushes the whole thing
ahead to start at frame 34. Don't mess
with the In or Out points; they will
“trim” (shorten) the footage.)
Note
In the Image Editor, you can use the slider
directly below the image window to scrub
through the frames of an image sequence.
Or you can check Use Layout Time to link
the image displayed in the window to your
scene's current frame.
5.
In the Surface Editor for the explosion
poly, enter the Texture Editor for its
Color channel. For the Layer Type,
choose
Image Map
. Set Projection to
Planar
, Image to the
HV_Explo-
sion_(sequence)
we just loaded, and
Texture Axis to
Z
. Click on the
Auto-
matic Sizing
button to have
LightWave calculate the correct scale
and position for the image to perfectly
fill the poly. Close the Texture Editor
window.
Figure 17-54
of this is that the black background of
the explosion will be completely trans-
parent, and the lighter the explosion
gets, the more opaque it'll be.
6.
In the Surface Editor's Advanced tab,
set the Additive Transparency for the
surface to
100%
. This means that it
will
add
the value of whatever its sur-
face is to whatever is
behind
it. If the
surface is black, then 0, 0, 0 gets added
to the pixels behind it (meaning there
is no change). If the surface is white at
a certain point, then 255, 255, 255 gets
added to the pixels behind it (and think-
ing in terms of 255, 255, 255 being the
highest values a pixel can have, white
is the highest value a pixel can have; in
short, it's like having a layer set to
Screen in Photoshop). The end result
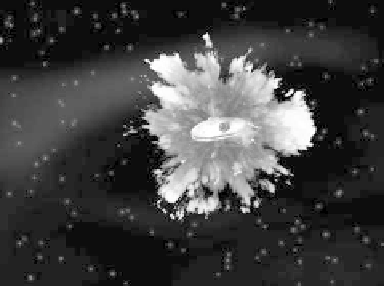
Figure 17-55: Doing a quick <F9> (around frame
50) shows something that doesn't look half-bad.
But an explosion is light, not just color. Let's add a
lens flare to simulate a lot of light flooding our
camera's exposure chamber and to give us
something to hide our removal of the 'droid.