Graphics Programs Reference
In-Depth Information
Figure 14-61: Add a third point to this spline and adjust its shape using the
Drag tool.
49. Continue connecting the dots and add-
ing control points to create four more
splines as shown in Figure 14-63. Be
sure to check your model in the Per-
spective viewport after you shape each
new spline. Remember that the back of
the head is rounded at the top but
tapers as it approaches the neck. Your
splines should reflect this. If you feel
that you need additional
control points to help
maintain the shape of
the splines, feel free to
create them. (I've added
extra points to two of
the splines shown in
Figure 14-63.)
Note
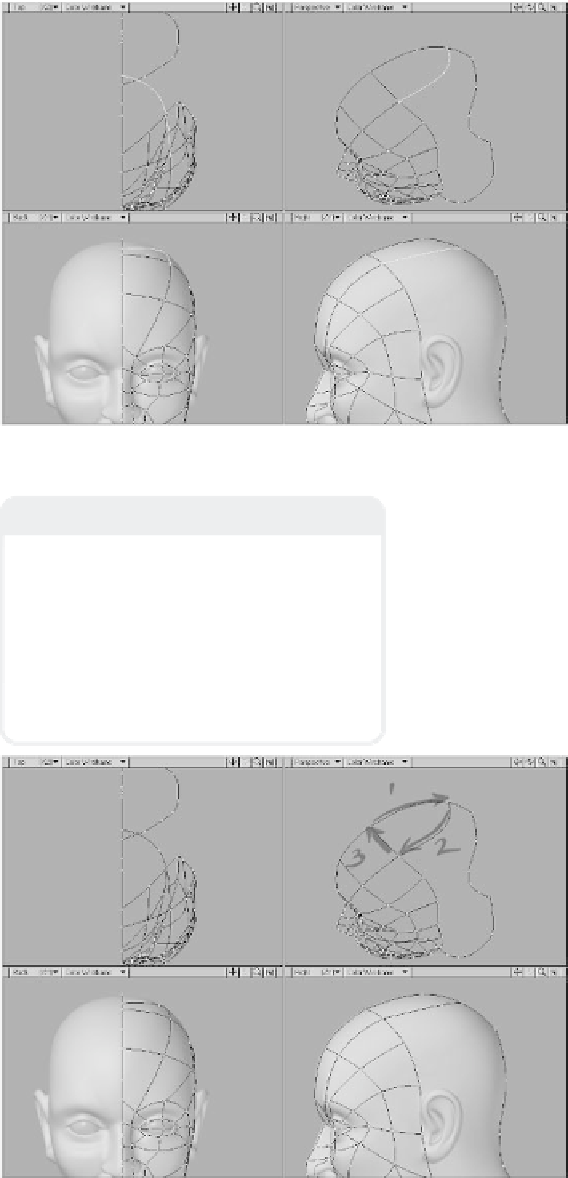
You probably noticed that the region we
defined in Steps 47 and 48 has only three
sides (see Figure 14-62). Sometimes, no
matter how hard you try, it's impossible to
create a quad cage. This is one of those
times. In circumstances like this, you should
do your best to position the three-sided cage
in a part of the model that will rarely be
seen (as we've done here).
Figure 14-62