Graphics Programs Reference
In-Depth Information
the nostril. The third is placed toward
the front of the nose just below the
nostril. The fourth goes right under the
nostril and the fifth is positioned right
on the lip toward the back of the nos-
tril. As always, select the points in
order (including the existing points
shown in Figure 14-34) and create a
new spline.
Step back and take a look at what you've
got. It's starting to come together! We've
successfully partitioned the cage so that
each area is bounded by four splines, mak-
ing a quad cage. Now it's time to add
splines around the outside edge of the face.
26. Select the three points that run over
the top of the forehead as shown in Fig-
ure 14-36 and create a new spline.
Keeping Tip #2 in mind, this will
become the top spline in a new quad
cage.
27. Select the four points running down
the side of the head as shown in Figure
14-37 and create a new spline. This
becomes the right spline of our quad
cage.
Spin your model around in the Perspective
viewport and check for any problem areas.
Since the cage is starting to take shape, it
will be much easier to spot areas where the
splines don't curve naturally.
Note
If you find that a spline needs an extra point
or two in order to properly partition off an
area, don't hesitate to add one. Just be sure
to inspect the spline afterward to account for
the shape change that can occur when you
add extra points.
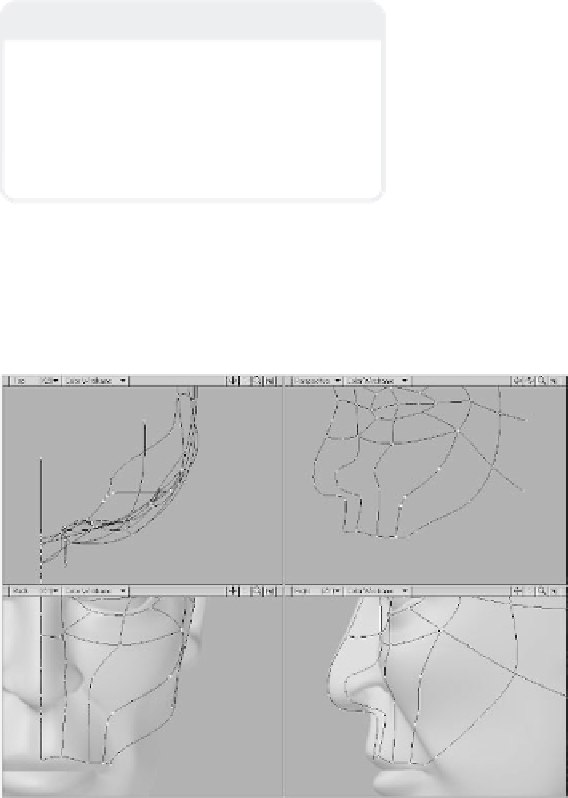
25. Create three more points as shown in
Figure 14-35. The first should be
placed at the outside of the cheek bone,
and the second and third should be
placed toward the inside of the cheek.
Figure 14-35