Graphics Programs Reference
In-Depth Information
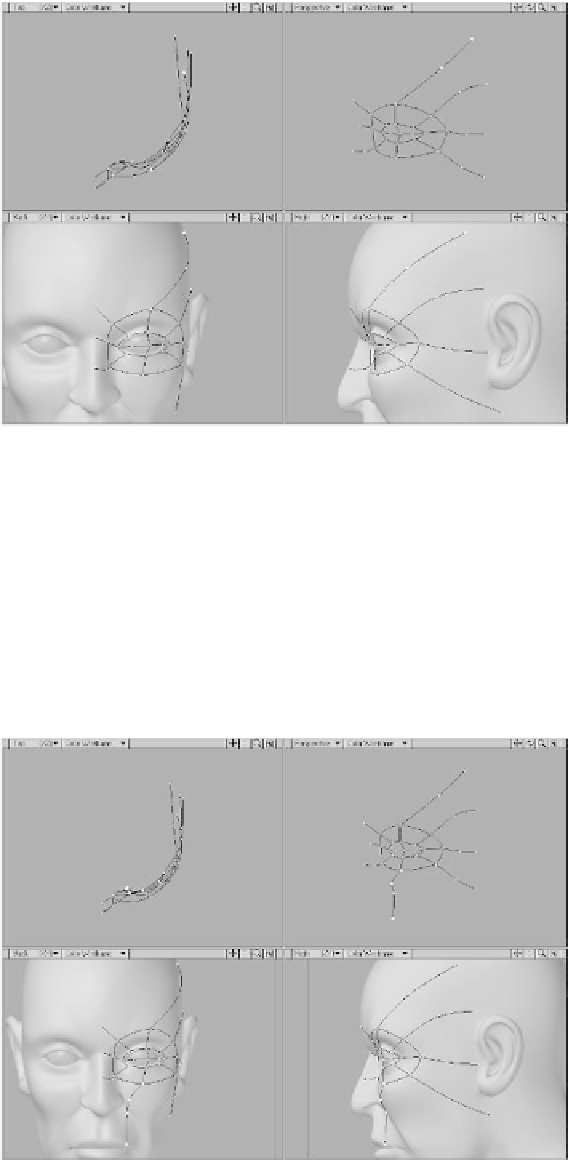
Figure 14-26
18. Now for the tricky spline. Add three
points as shown in Figure 14-27. The
first gets placed below the center of the
eye and slightly to the right of the nos-
tril. It also gets placed out farther on
the Z axis to account for the bulge of
the cheek. The next point gets placed
below and slightly behind the first one
(as seen in the Right viewport). The
third point gets placed just above the
lip.
Spin your model around in the Perspective
viewport and check for anything that
appears to be out of place.
At this point the cage may seem a little
unruly. Don't panic! Keep in mind the sim-
ple tips I gave you. Tip #2 says that we
Figure 14-27


