Graphics Programs Reference
In-Depth Information
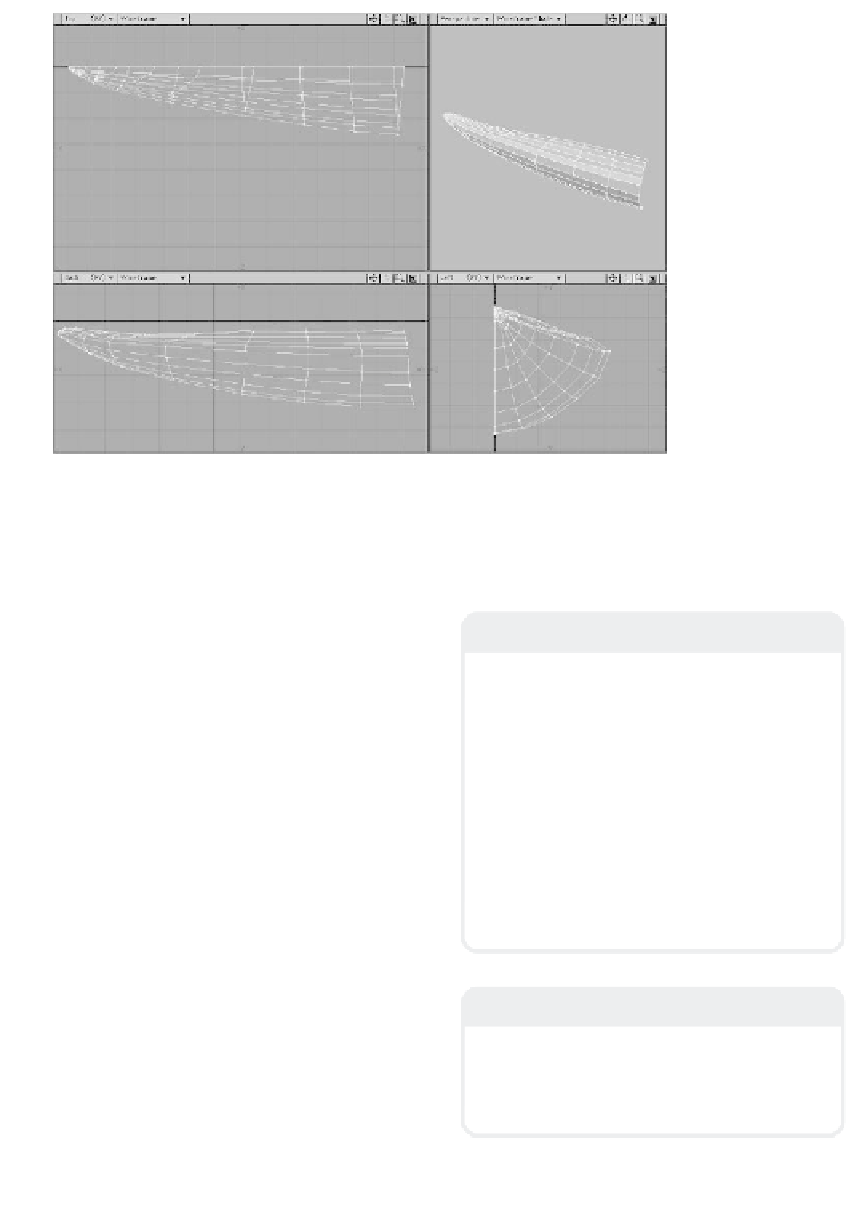
Figure 13-13
13. Examining the two patches together, it
looks like our seams match perfectly!
(You can use Merge Points now if you'd
like to see that the points along the
seam actually do go together. If you've
followed the steps correctly, they do!
Remember, though, that the tip of the
kayak has all its points meeting at one
spot — the point from which the
lengthwise segments fan out — so if
you merge points, you'll see that more
points have merged than you might
expect.)
14. Now, working on the middle section of
the kayak's body (not yet working with
the rubberized bumper curves), select
the four curves of its top in the order
shown in Figure 13-14. In the Make
Spline Patch window, set Perpendicular
to
5
segments distributed WRT
Length
, and set Parallel to
5
segments
distributed WRT
Knots
. Cut and paste
the resultant patch onto your assembly
layer. (You'll have to flip the polys to
get their normals facing outward.)
Note
Some of you may be wondering, “Why don't
you select your curves counterclockwise so
you wouldn't have to flip the patch-polys?”
Doing things in a clockwise fashion is a
habit I picked up a long time ago. I find it
much quicker to simply follow this habit, flip-
ping polys if necessary, than to have to
ponder the direction in which to select the
curves to get the normals facing out before
even selecting my curves.
For me it's quicker to just “muscle
through” what it is I need to get done than
to try to do things strictly by the topic.
Note
Don't
merge points when you paste this sec-
tion onto your assembly layer. We'll need to
keep the middle separate from the nose of
the kayak until Figure 13-18.