Graphics Programs Reference
In-Depth Information
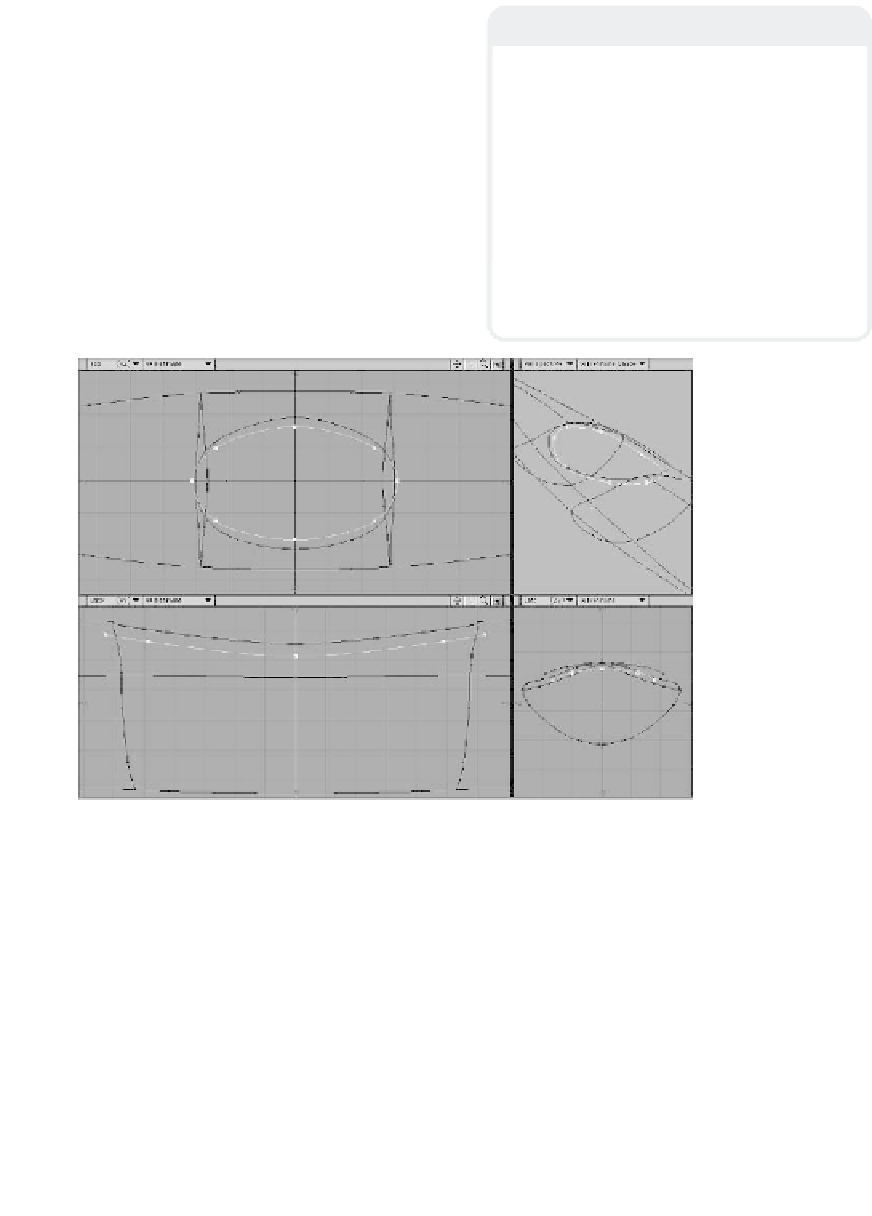
create an elliptical opening, each having
five points. (See the following Note.)
The points of these two curves defin-
ing the kayak's opening should be
welded together where they meet at
Z=0. (Symmetry mode will help as
you're tweaking these curves, if the
points you created them with were
mirrored across the X axis.) Be sure to
weld all the endpoints of your curves
that meet up with one another.
Note
In creating the top seams (curves) for the
kayak's opening, it is easiest to just make
one curve with five points all lying along
Z=0. Then, using the Top and Left viewports,
drag the points so you have the shape of
one half of that elliptical opening. Then,
making sure the endpoints are at Z=0, mir-
ror the curve across the Z axis and merge
points.
You may need to tweak what you get to
make the ellipse nice and smooth, but this is
the quickest way to create this kind of spline
shape.
Figure 13-9
7.
Copy and paste the top two curves that
form the kayak's opening onto another
layer, move them down “inside” the
kayak, and stretch them — they will
create the bottom of the rubberized
bumper that keeps a kayaker from
banging up against the thin, hard plastic
walls of the kayak's opening. When
you've got these curves the way you
want them, cut and paste them back
onto the main layer of your kayak.