Graphics Programs Reference
In-Depth Information
4.
Smooth shift and then smooth scale the
polys by about
2mm
— just enough so
the points of the belt don't sit directly
on top of the points of the shirt and
won't be eliminated if we Merge Points
| Automatic at some point later on.
(Smooth shifting here allows us to limit
the color of the belt to being applied to
the belt alone and not running over
onto the shirt.) Surface the selected
polys with something appropriate for a
belt.
how only after smooth shifting again
does the belt's coloring “expand” to fill
the area between the segments we
designated to be the belt in Figure
9-26. This may seem odd, but it is the
way the subdivision surfacing loga-
rithm works — and since
that's
the way
it works, the “hoop-jumping” we just
did is the way
we
must work.
6.
Next, unhide everything, and then hide
just the polys with the surfacing of the
belt we just created. Then assign a sur-
face to
all
the polys on the
bottom
of
your model with something appropriate
for pants.
5.
Smooth shift again and smooth scale by
0.5 cm
(or whatever thickness you'd
like for your character's belt). Notice
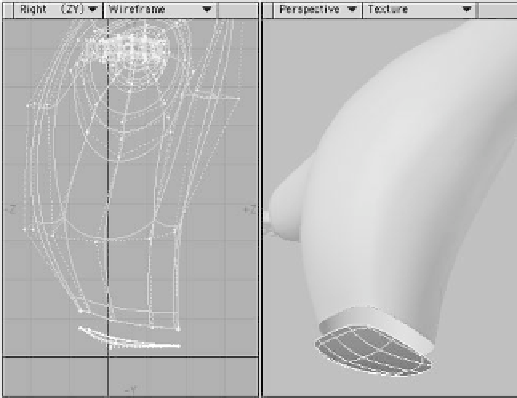
Figure 9-29
Figure 9-30