Graphics Programs Reference
In-Depth Information
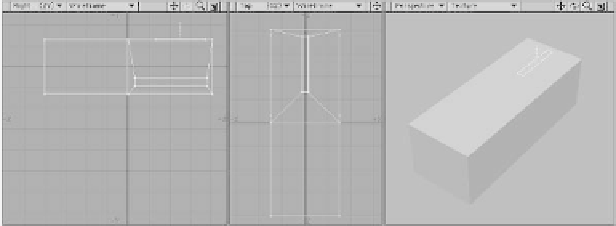
Figure 8-4
6.
Next we're going to use Bevel on
only
the top rear poly. Apply only an Inset
(we're exploring using a different tool
to do the same job). This poly is the
base of the tail. (See Figure 8-5.)
Note
I bet you're wondering when we're going to
get to sub-patches. Don't worry, we'll acti-
vate them for this model in just a bit. I want
to make a point of how working with
sub-patches is
almost exactly
like working
with polys, the only differences being that
with sub-patches, you never have to worry
about anything being non-planar, and how-
ever you manipulate your mesh, you
must
keep your sub-patches as quadrangles (or
triangles).
7.
Use Stretch and Move to get this poly
the rest of the way to where it needs to
be. (Remember, with Symmetry mode
active, you need to do your mouse
work on the positive side of the X
axis!)
Figure 8-5
Figure 8-6