Graphics Programs Reference
In-Depth Information
Note
Incidence Angle gives you a gradient spread
from 0, facing
perpendicular
to the camera,
to 90, facing
toward
the camera.
i. Set the Color of the first key to
0, 0, 0
and its Alpha to
69%
.
j. Create another key anywhere on the
gradient bar. Leave its Color at
0, 0, 0
,
but change its Alpha to
79%
and its
Parameter to
50
.
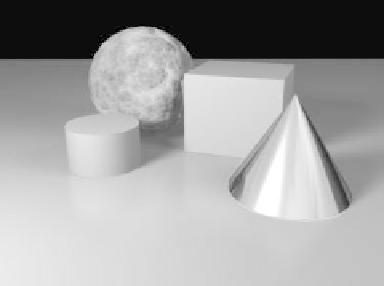
Figure 4-52: A new render shows that we're
getting closer...
k.
Create another key
below
the key you
just created. Set its Color to
121, 23,
23
, its Alpha to
50%
, and its Parameter
to
78
. (You can't move a key past any
key immediately before or after it.)
m.
Going into the Texture Editor for the
Reflection channel, assign a gradient
with the Input Parameter of
Incidence
Angle
.
l.
Create another key
below
the key you
just created. Set its Color to
95, 37,
54
, its Alpha to
0%
, and its Parameter
to
90
.
n.
For the first key (representing polys
facing
perpendicular
to the camera), set
the Value to
0%
, and change its Alpha
to
90%
. (Polys facing
perpendicular
to
the camera will
almost
be
non-reflective.)
Note
The reason I maintained a reddish color in
the above step, even though the Alpha
would make that key transparent, is that
LightWave will blend from that key to its
nearest key, even as its alpha makes it more
and more transparent.
What we've done is tell LightWave to
“shade” the surface darker and darker as
polys turn away from the camera, going first
through a hint of burgundy, then to black.
o.
Create another key, leaving its Value at
0%
but changing its Alpha to
0%
and
making its Parameter
90
. (Polys facing
toward
the camera will retain their
Reflection setting from what it is under
the Basic tab of the Surface Editor.)
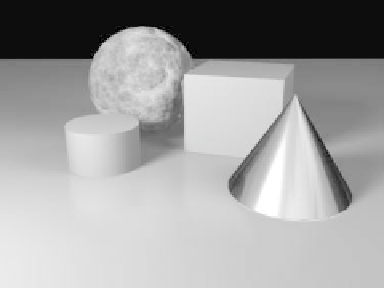
Figure 4-53: A new render shows that things are
continuing to look more realistic.