Graphics Programs Reference
In-Depth Information
Leave Softness at
100%
and Blending
at
Replace
.
Render away!
Step 3: Exploring a Surface
Preset
Let's take apart a surface that looks good to
figure out what makes it tick. Let's also
continue to use the scene from the previous
step — it gives us a good-looking base to
work from.
a.
With the
Sphere
surface selected,
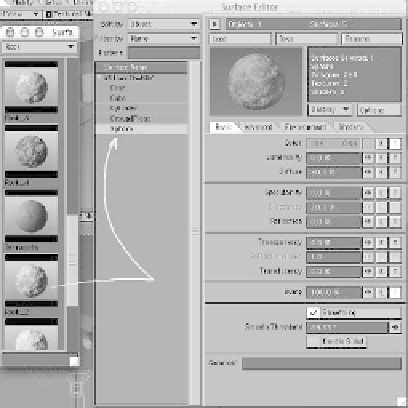
browse through the Presets and dou-
ble-click on
Rock_2
once you've found
it (see Figure 4-43).
Figure 4-42: The reflections of the other objects in
the ground plane now look like something you'd
see in real life.
Save your still life object, and let's move
on!
Note
Notice in Figure 4-41 that there's a
check box labeled Scale By Surface
Buffer. With this checked, the amount of
softening applied to a surface is multi-
plied by whatever number you enter into
the Special Buffers 1 field of the Special
Buffers Options window (accessed
through Surfacing | Advanced | Special
Buffers).
To the best of my knowledge, the soft-
ening effect won't go beyond what it
does at 100%.
Figure 4-43
Note
Subtlety...
The thing about getting into any new area
of art is that you are exposed to so many new
visuals that it is easy to make broad gestures
about what you're seeing. A master doesn't
really care if someone sees his mastery or not.
But it's there for those who wish to see.
Like the subtlety of “good acting,” the reflec-
tion we created in Figure 4-42 gives us the
feeling of being real because it quietly makes
a statement we are familiar with in our daily
experience in the real world. (“Bad acting” is
often just “big acting.”)
With your art, and this is very much an art,
explore making the minimum statement possi-
ble about a thing in order for it to be read by
an observant audience. The reflection of the
other objects on the ground plane isn't some-
thing you notice right away, but it is there, and
it feels “right” in its
subtlety
.


