Graphics Programs Reference
In-Depth Information
a.
Set both lights to have an Intensity
Falloff of
Inverse Distance
.
Step 6: Falloff (Atmosphere)
Even in a small room, the air absorbs
“wavicles” of light, so the area of a wall
nearest a lamp is significantly brighter than
the wall on the opposite side of the room.
One of the tools that we have to recreate
this is the Intensity Falloff setting in each
light's Light Properties window.
When Intensity Falloff is set to Linear,
the light's intensity falls off in a smooth, lin-
ear fashion, falling
to 0% at the dis-
tance set in the
Range/Nominal
Distance field.
When the
Intensity Falloff is
set to Inverse Dis-
tance, the light's
intensity falls off in
a parabola, and the
value in Range/
Nominal Distance
shows the place
where the light's
intensity
will be
what you set it at in
the Light Intensity
field
.(
Inside
that
“nominal distance,” the intensity of the
light will
increase
along the same parabola
of Intensity = -1 * Distance to Light.)
When the Intensity Falloff is set to
Inverse Distance ^2, the formula creates a
much steeper curve for the light's intensity
(the effect of there being lots of stuff in the
atmosphere to absorb the little wavicles of
light).
b.
In a Top viewport, adjust the slider
buttons (to the immediate right of the
Range/Nominal Distance field) so the
dotted ring for the light passes through
the approximate center of the still life
(see Figure 4-24).
Render away!
Figure 4-24: When you activate Intensity Falloff, your selected lights will show a
dotted ring around them in orthogonal views, giving you a visual for the setting
in the Range/Nominal Distance field.
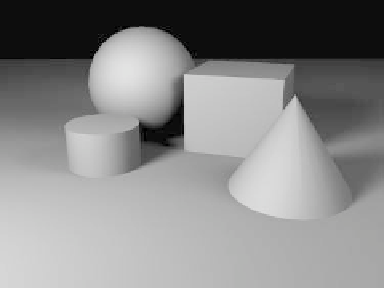
Figure 4-25: The difference is subtle but significant.
This render looks even more “realistic.”