Graphics Reference
In-Depth Information
When the benchmark finishes execution, the next interface that appears is what we
can call the main menu, although there isn't any official name. We call this area the
main menu because here we find the most important settings to start working with
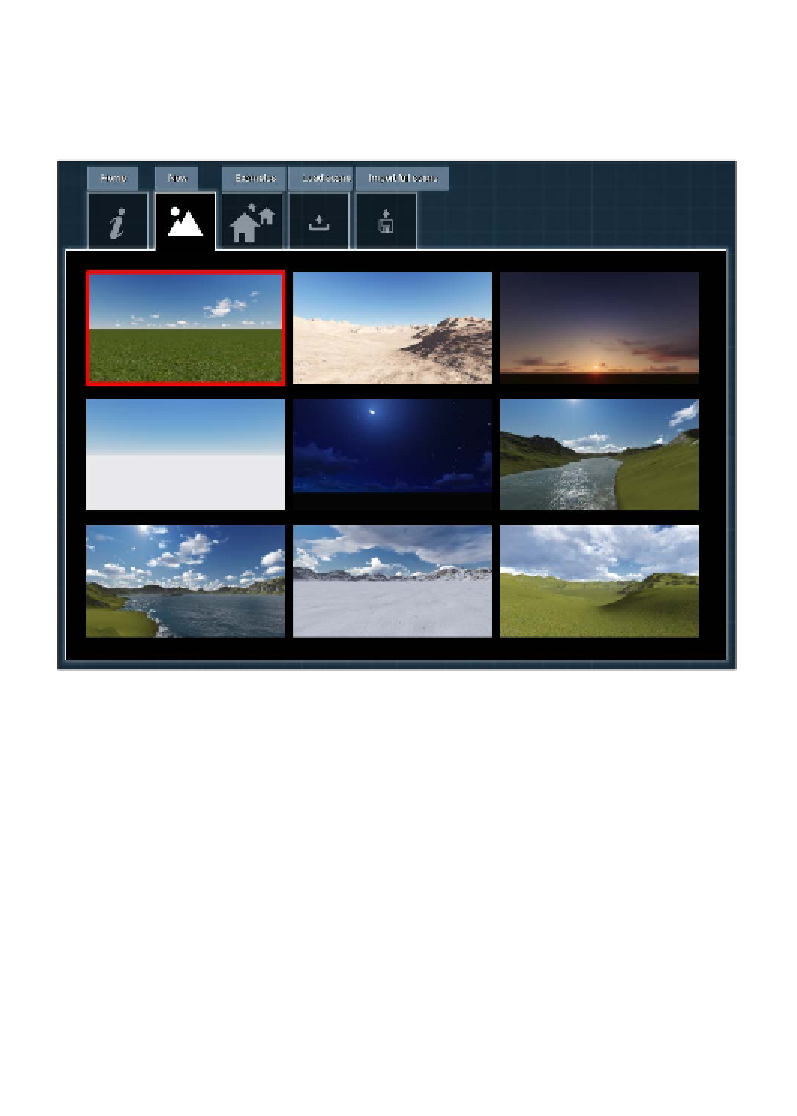
Lumion. As you can see in the following screenshot, there are several tabs, and if we
click on each one, we would find different areas that help us work with Lumion:
For now, we will stick with the
New
tab, because all the other tabs are sort of useless
if we don't have any project of our own. We will look at a new project that is exactly
what we can start in the
New
tab. For this, we can use one of the nine scenes shown
in the preceding screenshot. However, which one should we select? All the nine
scenes can be accomplished by tweaking the menus we find inside the
Build
mode
(the
Build
mode is where we can build the project), and therefore, we can say that
these nine scenes work as a shortcut or a preset to get a specific look and mood,
although later, we can entirely change the look of the environment. Unfortunately,
for now, we cannot save an environment created as a template, but nothing stops
you from saving a scene and using it as a template. The only difference is that it will
not appear in the
New
tab.
A good starting point is to use the
Grass
scene. The
Grass
scene is highlighted in the
previous screenshot and is a good starting point because it is a simple scene with a
flat terrain and good light. After selecting this scene, Lumion loads the scene and
opens the
Build
mode.

