Graphics Reference
In-Depth Information
Not only is it possible to change the frames per second, but we can also change the
quality and resolution of the movie. These last two settings are very important, in
particular when we need to send an initial draft to a client. If the client only wants to
see the camera animation and how the scene is composed, the best option we have is
exporting a movie with low quality and a lower resolution.
Restart Lumion before beginning the rendering process
because this action when rendering complex scenes can
improve the render time.
We mentioned that there are other possibilities for exporting a movie. Do we really
need them? And why should we consider using these additional exporting options?
Best practices - exporting individual clips
and a sequence of images
Firstly, why would we even want to export a clip one by one? The quick answer is
because of the flexibility we get while using this technique. Exporting single clips can
be quite useful, particularly when we wish to manipulate these different clips later
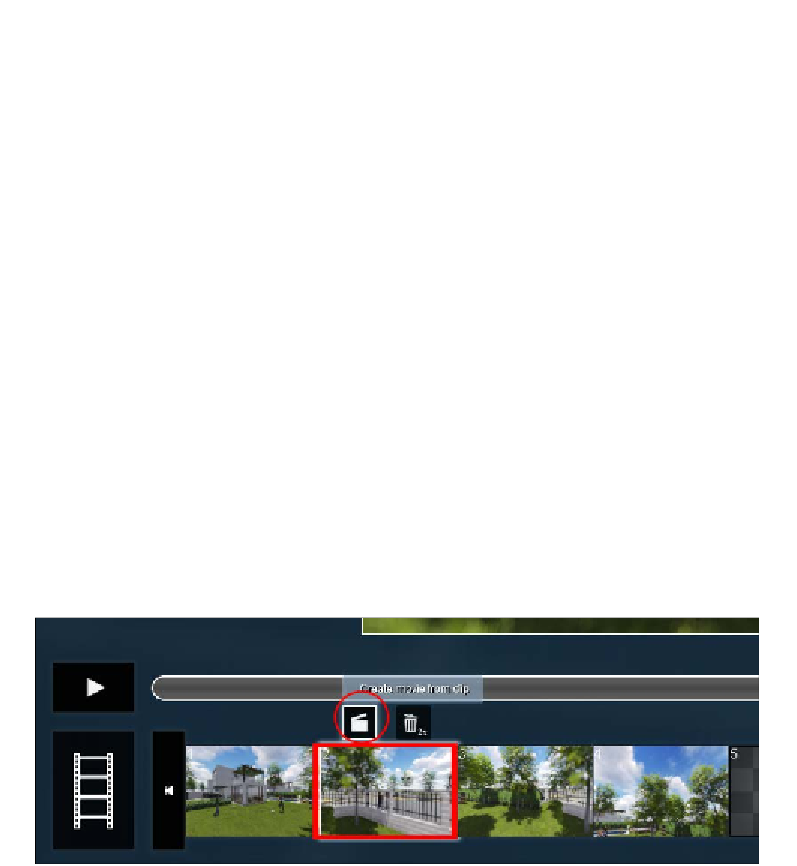
with video editing applications like Adobe Premier. How can we do this? Instead
of clicking on the Save Movie button, select an individual clip and two small icons
appear, as shown in the following screenshot:
The button we want is the one called
Create movie from clip
, and once we click on
this button, the
Save your entire movie
window appears with the same options we
have when saving the entire movie. If your movie is composed of several clips, this
means you have to perform this action for each one, but in the end, it pays to have
some freedom to tweak and edit the videos that compose the movie.
When saving the movie, did you notice the two additional tabs next to the
MP4
tab?
This is where we can find some additional and useful features to export a movie.